|
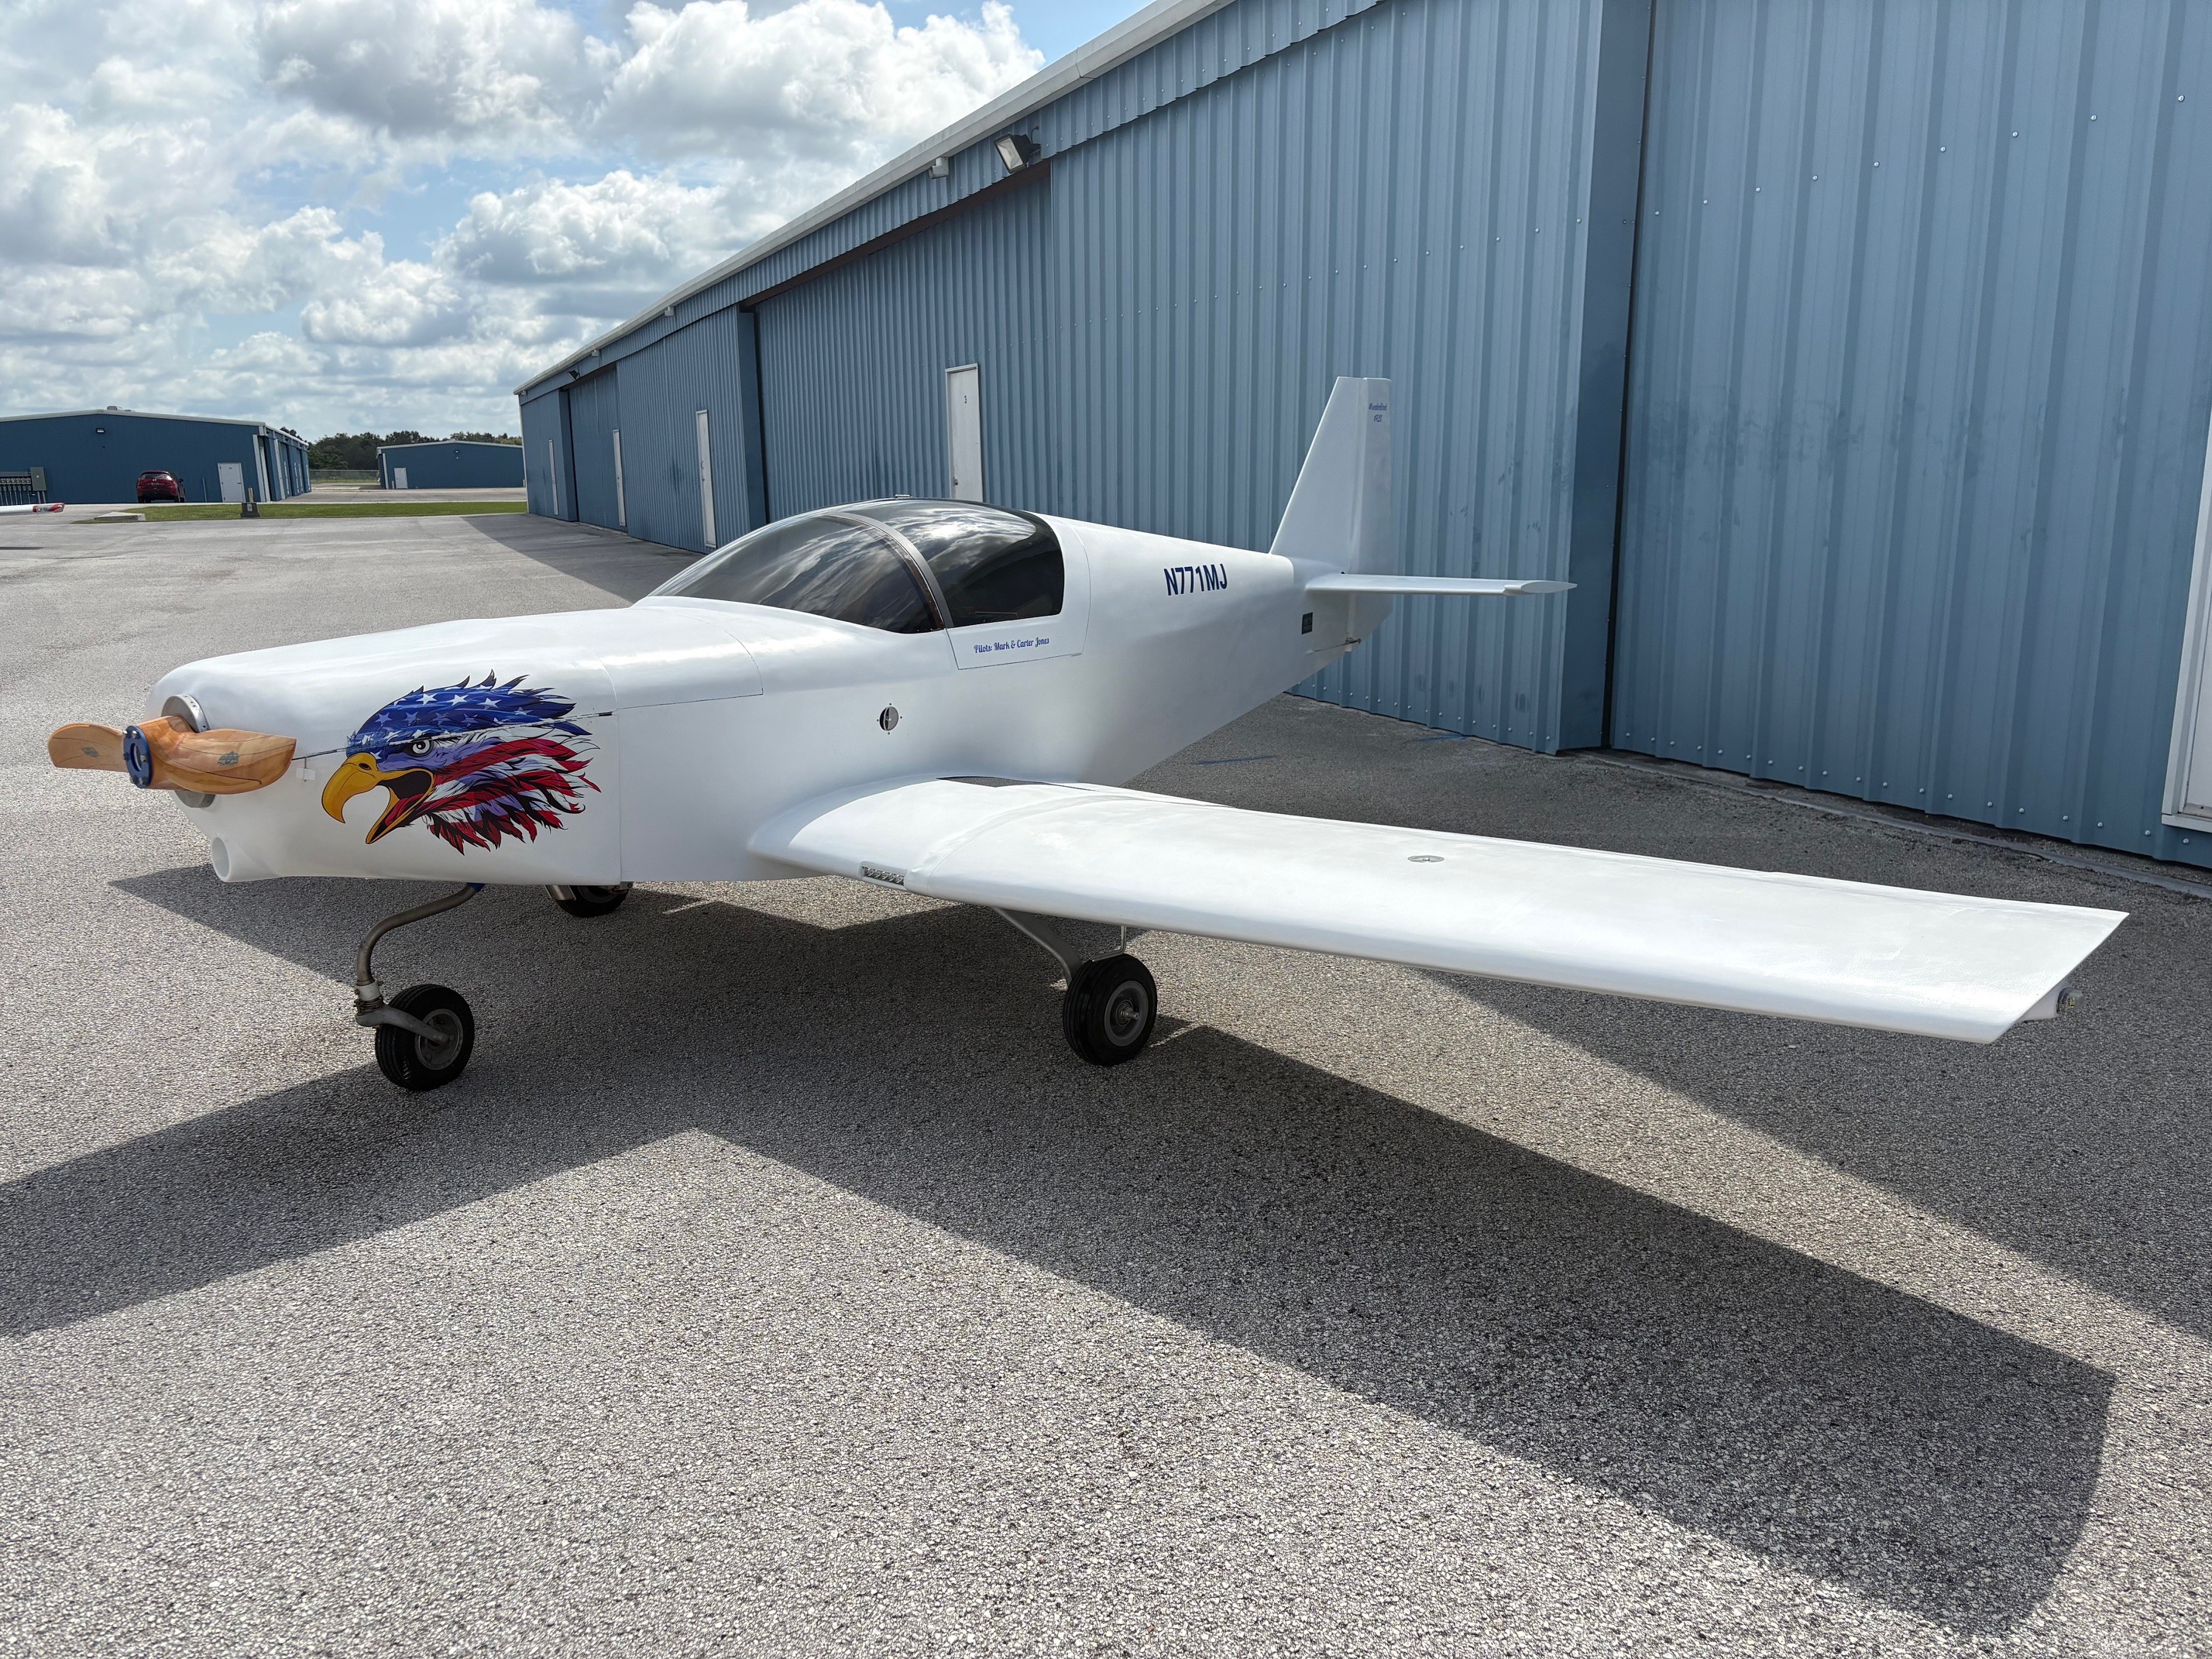
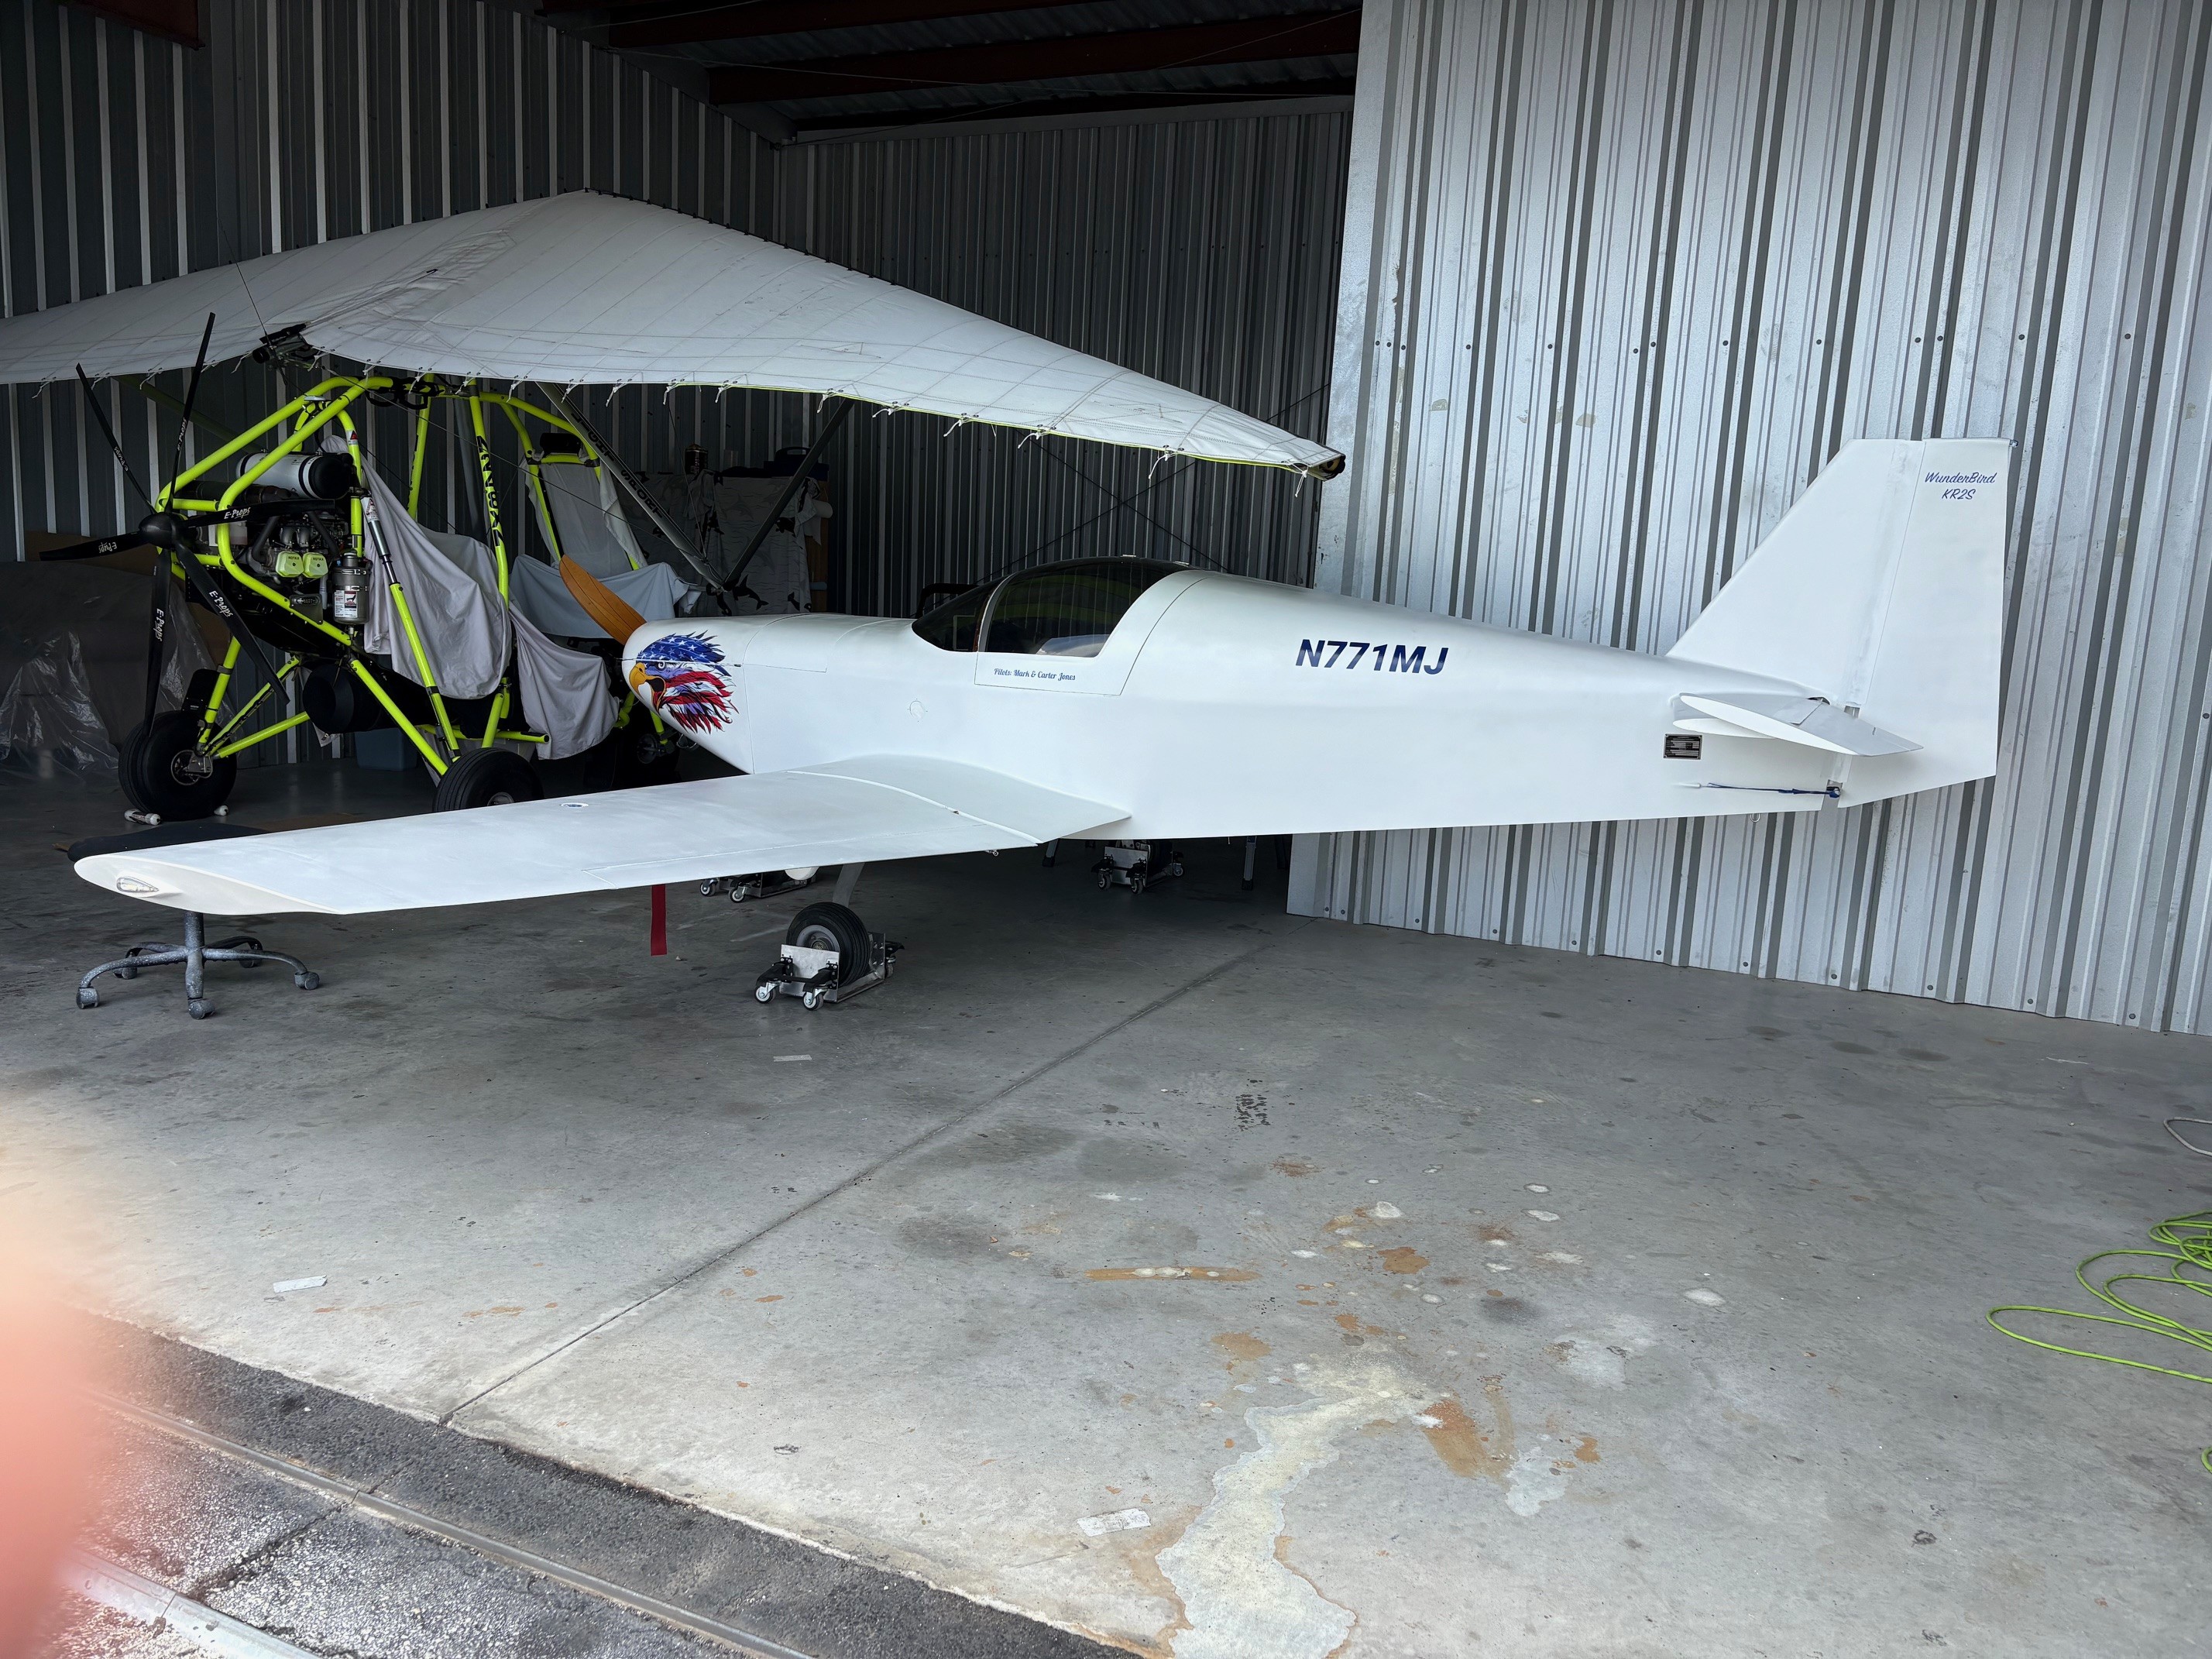
Mark Jones' "WunderBird" N771MJ |  |
PHOTO OF THE Day (5/06/2024) Back to main HOME PAGE. |
As most of you know I sold the first KR2S I built. That was a decision I wish I had never made. Anyway, I have decided to build my second KR2S aircraft.
Am I a glutten for punishment? No I don't think so as I love to build and knowing what I know from my first build I can only expect a much better bird this time. To speed
up the process and greatly reduce my build time I have acquired a partially built project from Bernie Wunder. Bernie has put many hours of quality time into this project
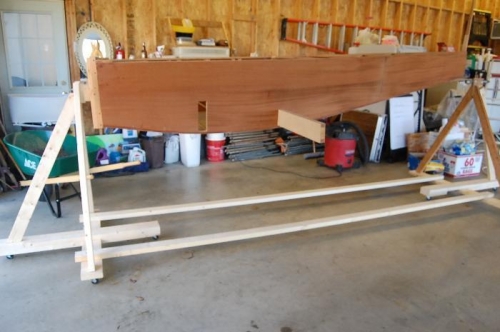
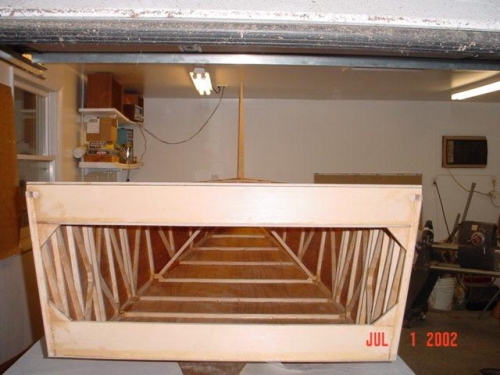
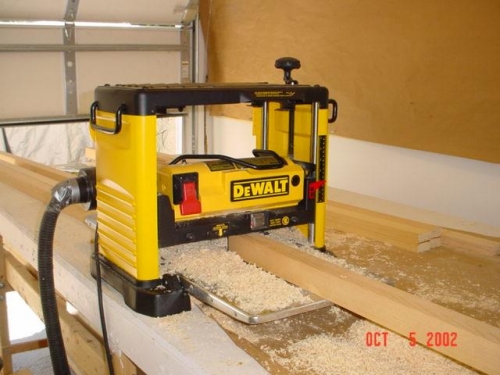
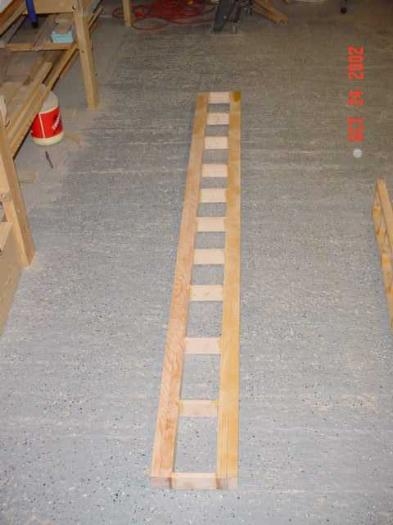
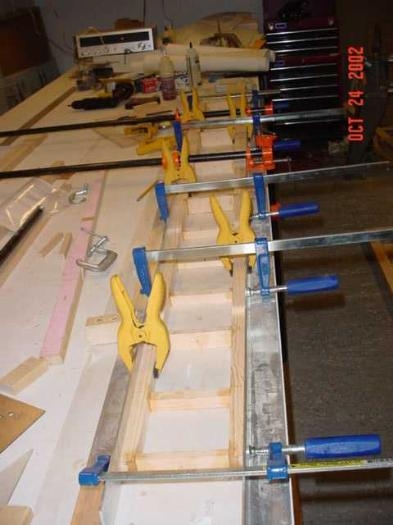
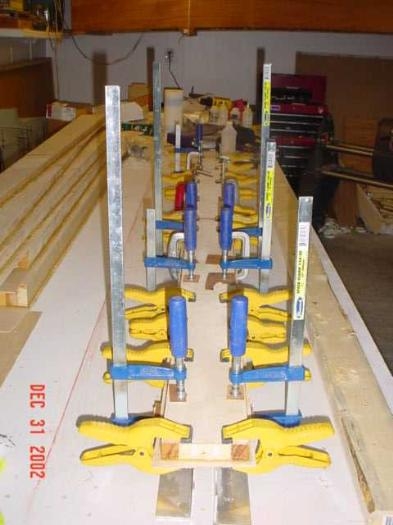
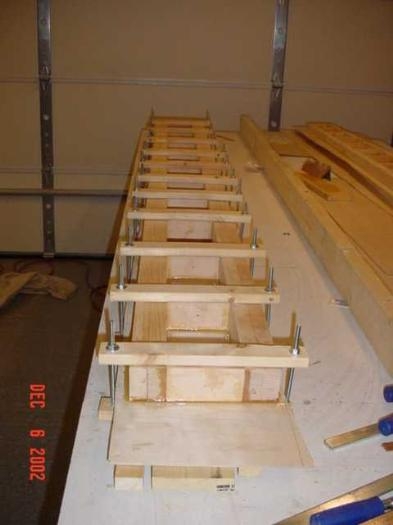
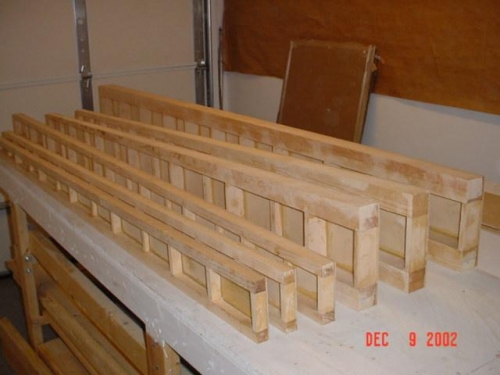
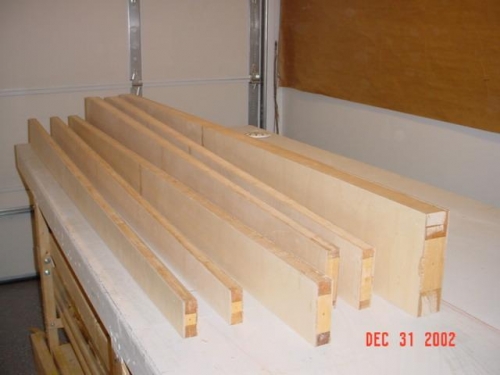
and his craftsmanship is only to behold. He has taken every step meticulously producing a boat and a set of spars that I have no problem flying. The following are a few
photos of his work. This is also my starting point on this project. My Goal is to fly this plane to the 2025
KR Gathering.
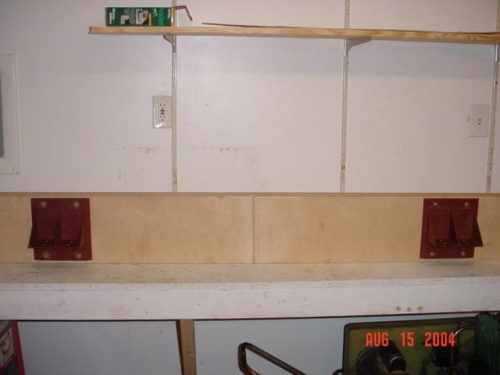
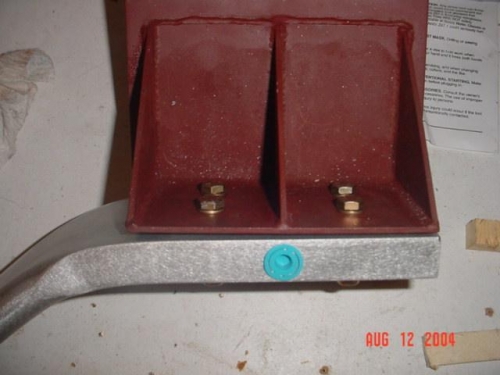
Bernie Wunder's page click here. Here are some of Bernie's photos. You can see his work is quality. Please click on
his link above to see more of his construction.
.
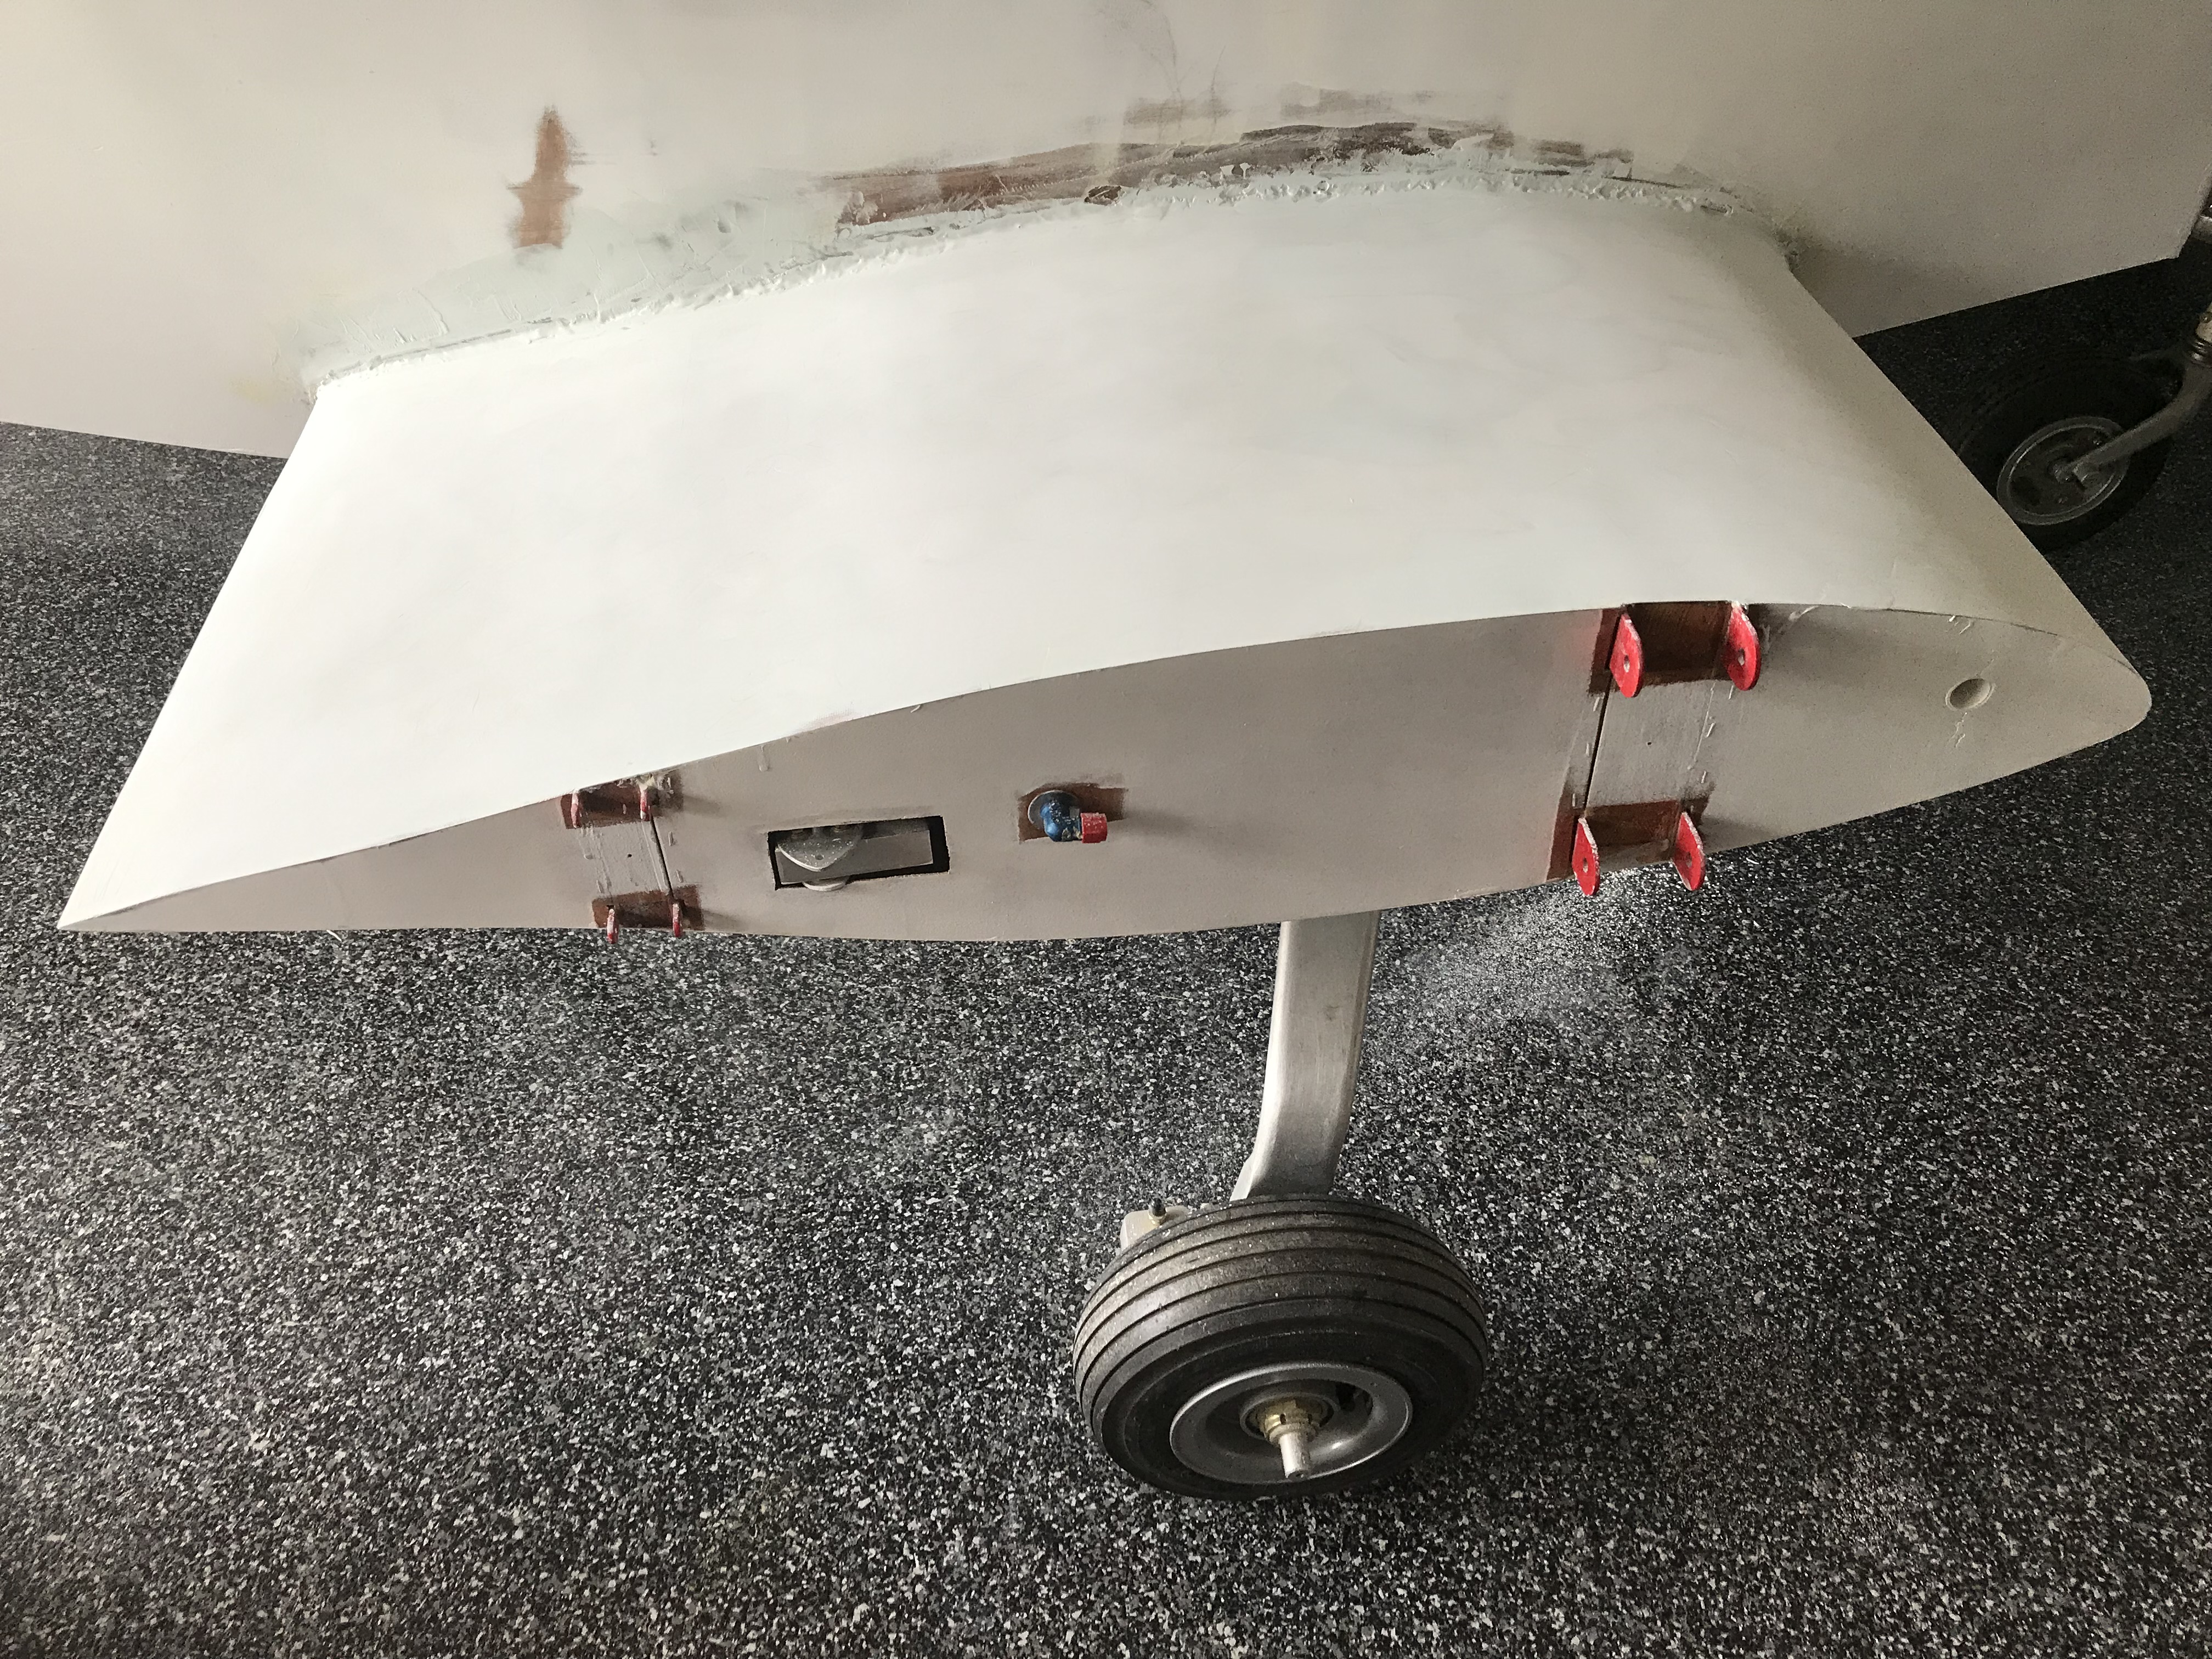
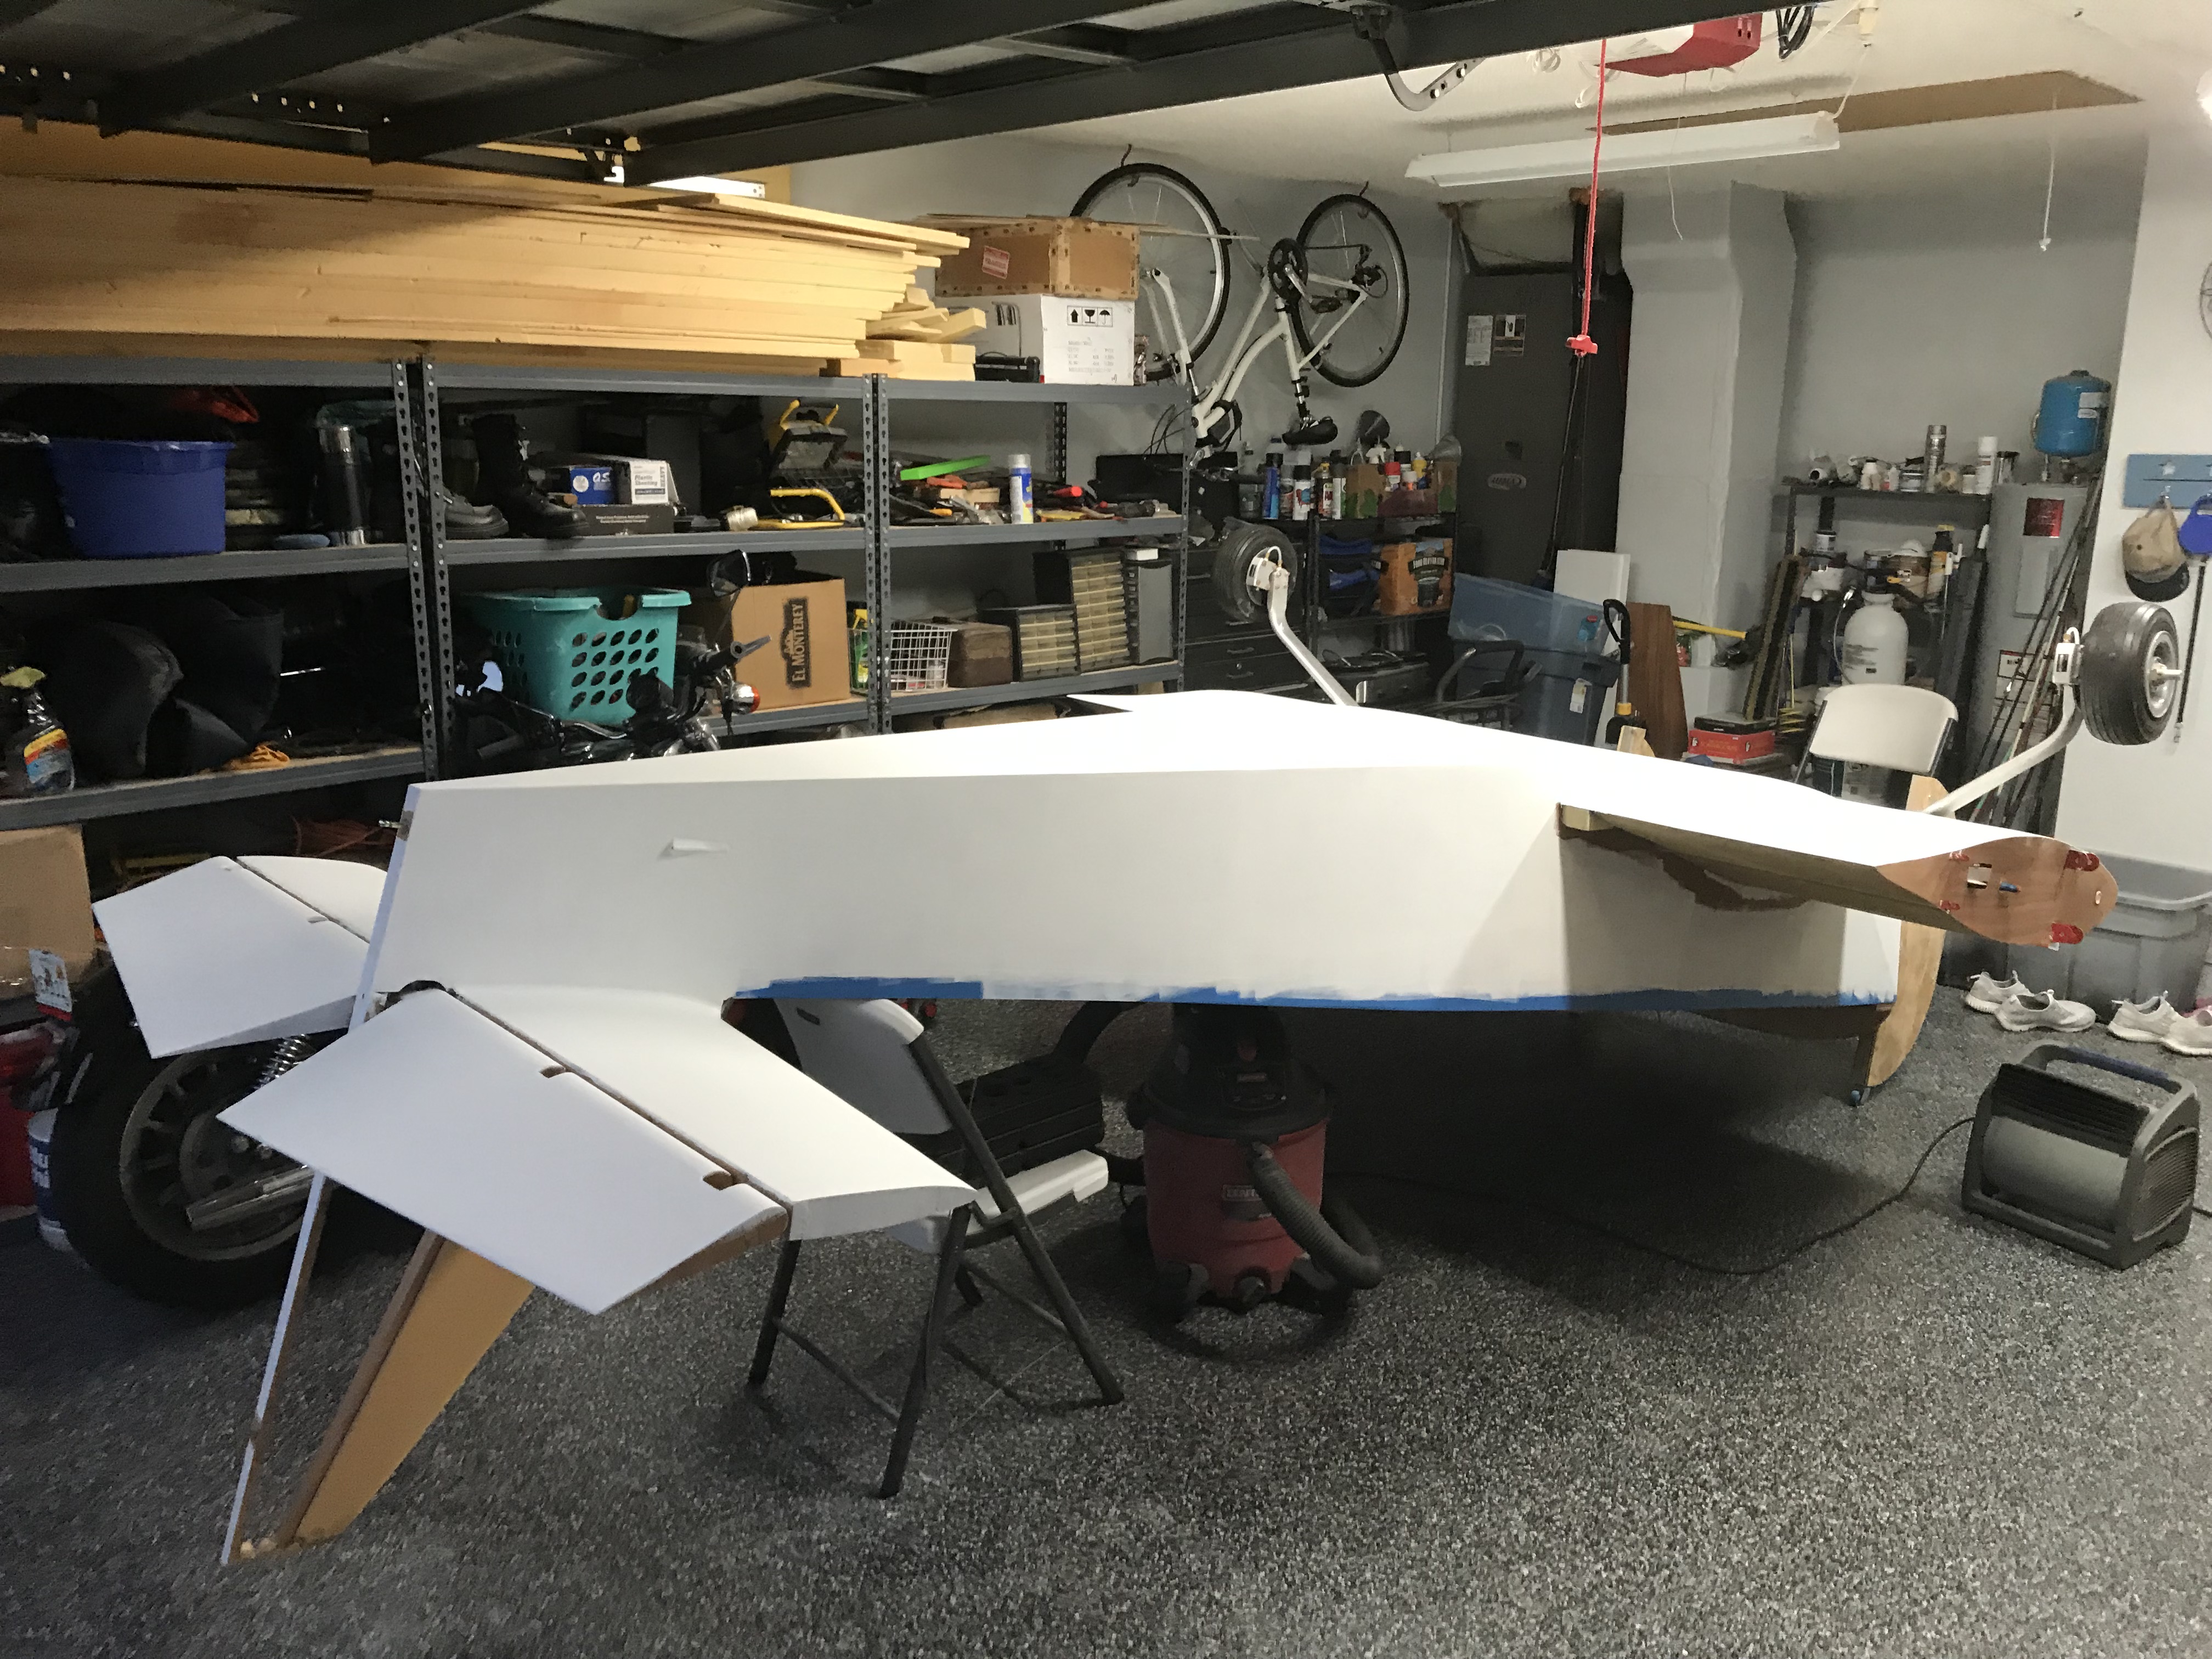
And this is where I begin my work completing "WunderBird". My intentions on building this aircraft are
to keep everything as simple and basic as possible and to keep her as light as possible.
5/20/2018
In this photo you can see that I have the main spar temporarily in place. I have leveled the fuselage both front to back and side to side. The rear bulkhead for the forward horizontal stabilizer has been built and T-88 epoxied in place making sure the bulkhead is perfectly vertical. This is done using a digital "Smart Tool"
level. After that was done I placed the forward horizontal stabilizer spar in place and T-88 epoxied it in place making sure it is both perfectly vertical, level and parallel to the forward wing main spar. Wow, did you notice I have cleaned my shop? I have removed almost everything which is not needed to build my KR. I now have a "Man Cave".

5/21/2018
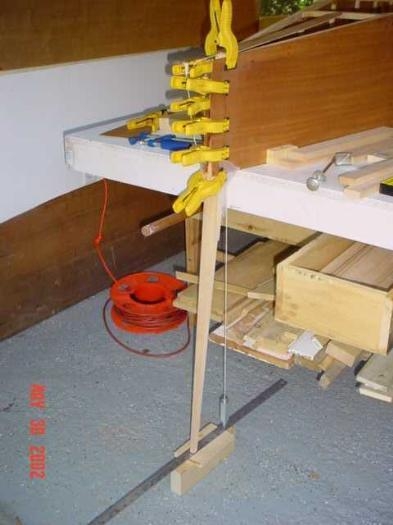
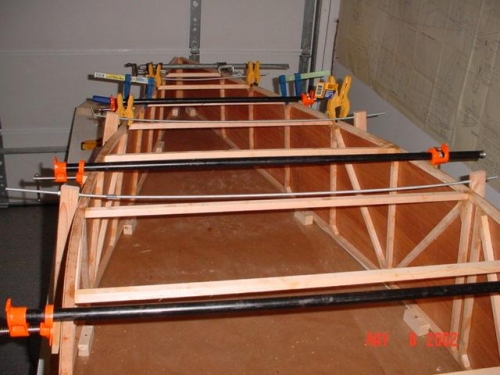
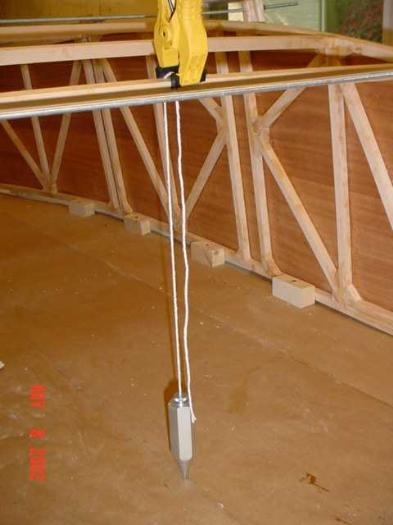
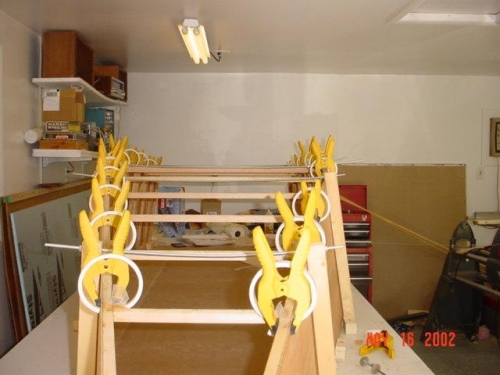
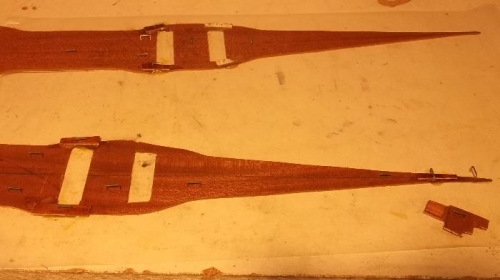
In these photos I am rigging up things to check for fit and alignment. Notice the main center spars are now tapered to the airfoil dimension.


5/29/2018
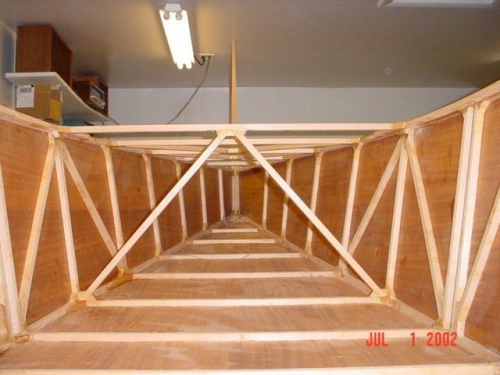
In the following photos I am in the process of finishing all structural bracing of the fuselage.
I have also set the main center spars, installed the Grove landing Gear, set the vertical stabilizer post and have sealed most of the interior wood
with Minwax Helmsman Spar Urethane. There are areas that were not sealed yet because there will be parts glued in those spots with T-88. Once the
interior is completed a final sealing coat will be applied to all wood surfaces. Notice in the last photo the difference in appearance. Mahogany has
a beautiful wood grain.


6/01/2018
This shot of the rear bulkhead looks all whacked out of square but believe me it is only the camera.
I have also completed the install of the cockpit floor.


6/06/2018
Getting very near to being complete on all the wood work. She is sporting a pair of Grove split landing gear.
The gear has also been gun drilled for the brake fluid lines. Now the horizontal stabilizer has been set and the elevator spar
has been attached to the rear horizontal stabilizer spar with rod end bearings.


6/25/2018
Here are some of the latest photos. I have installed the seat braces and cut out the wood for the seats. Basically a bench seat very similar to the seat in my last KR.
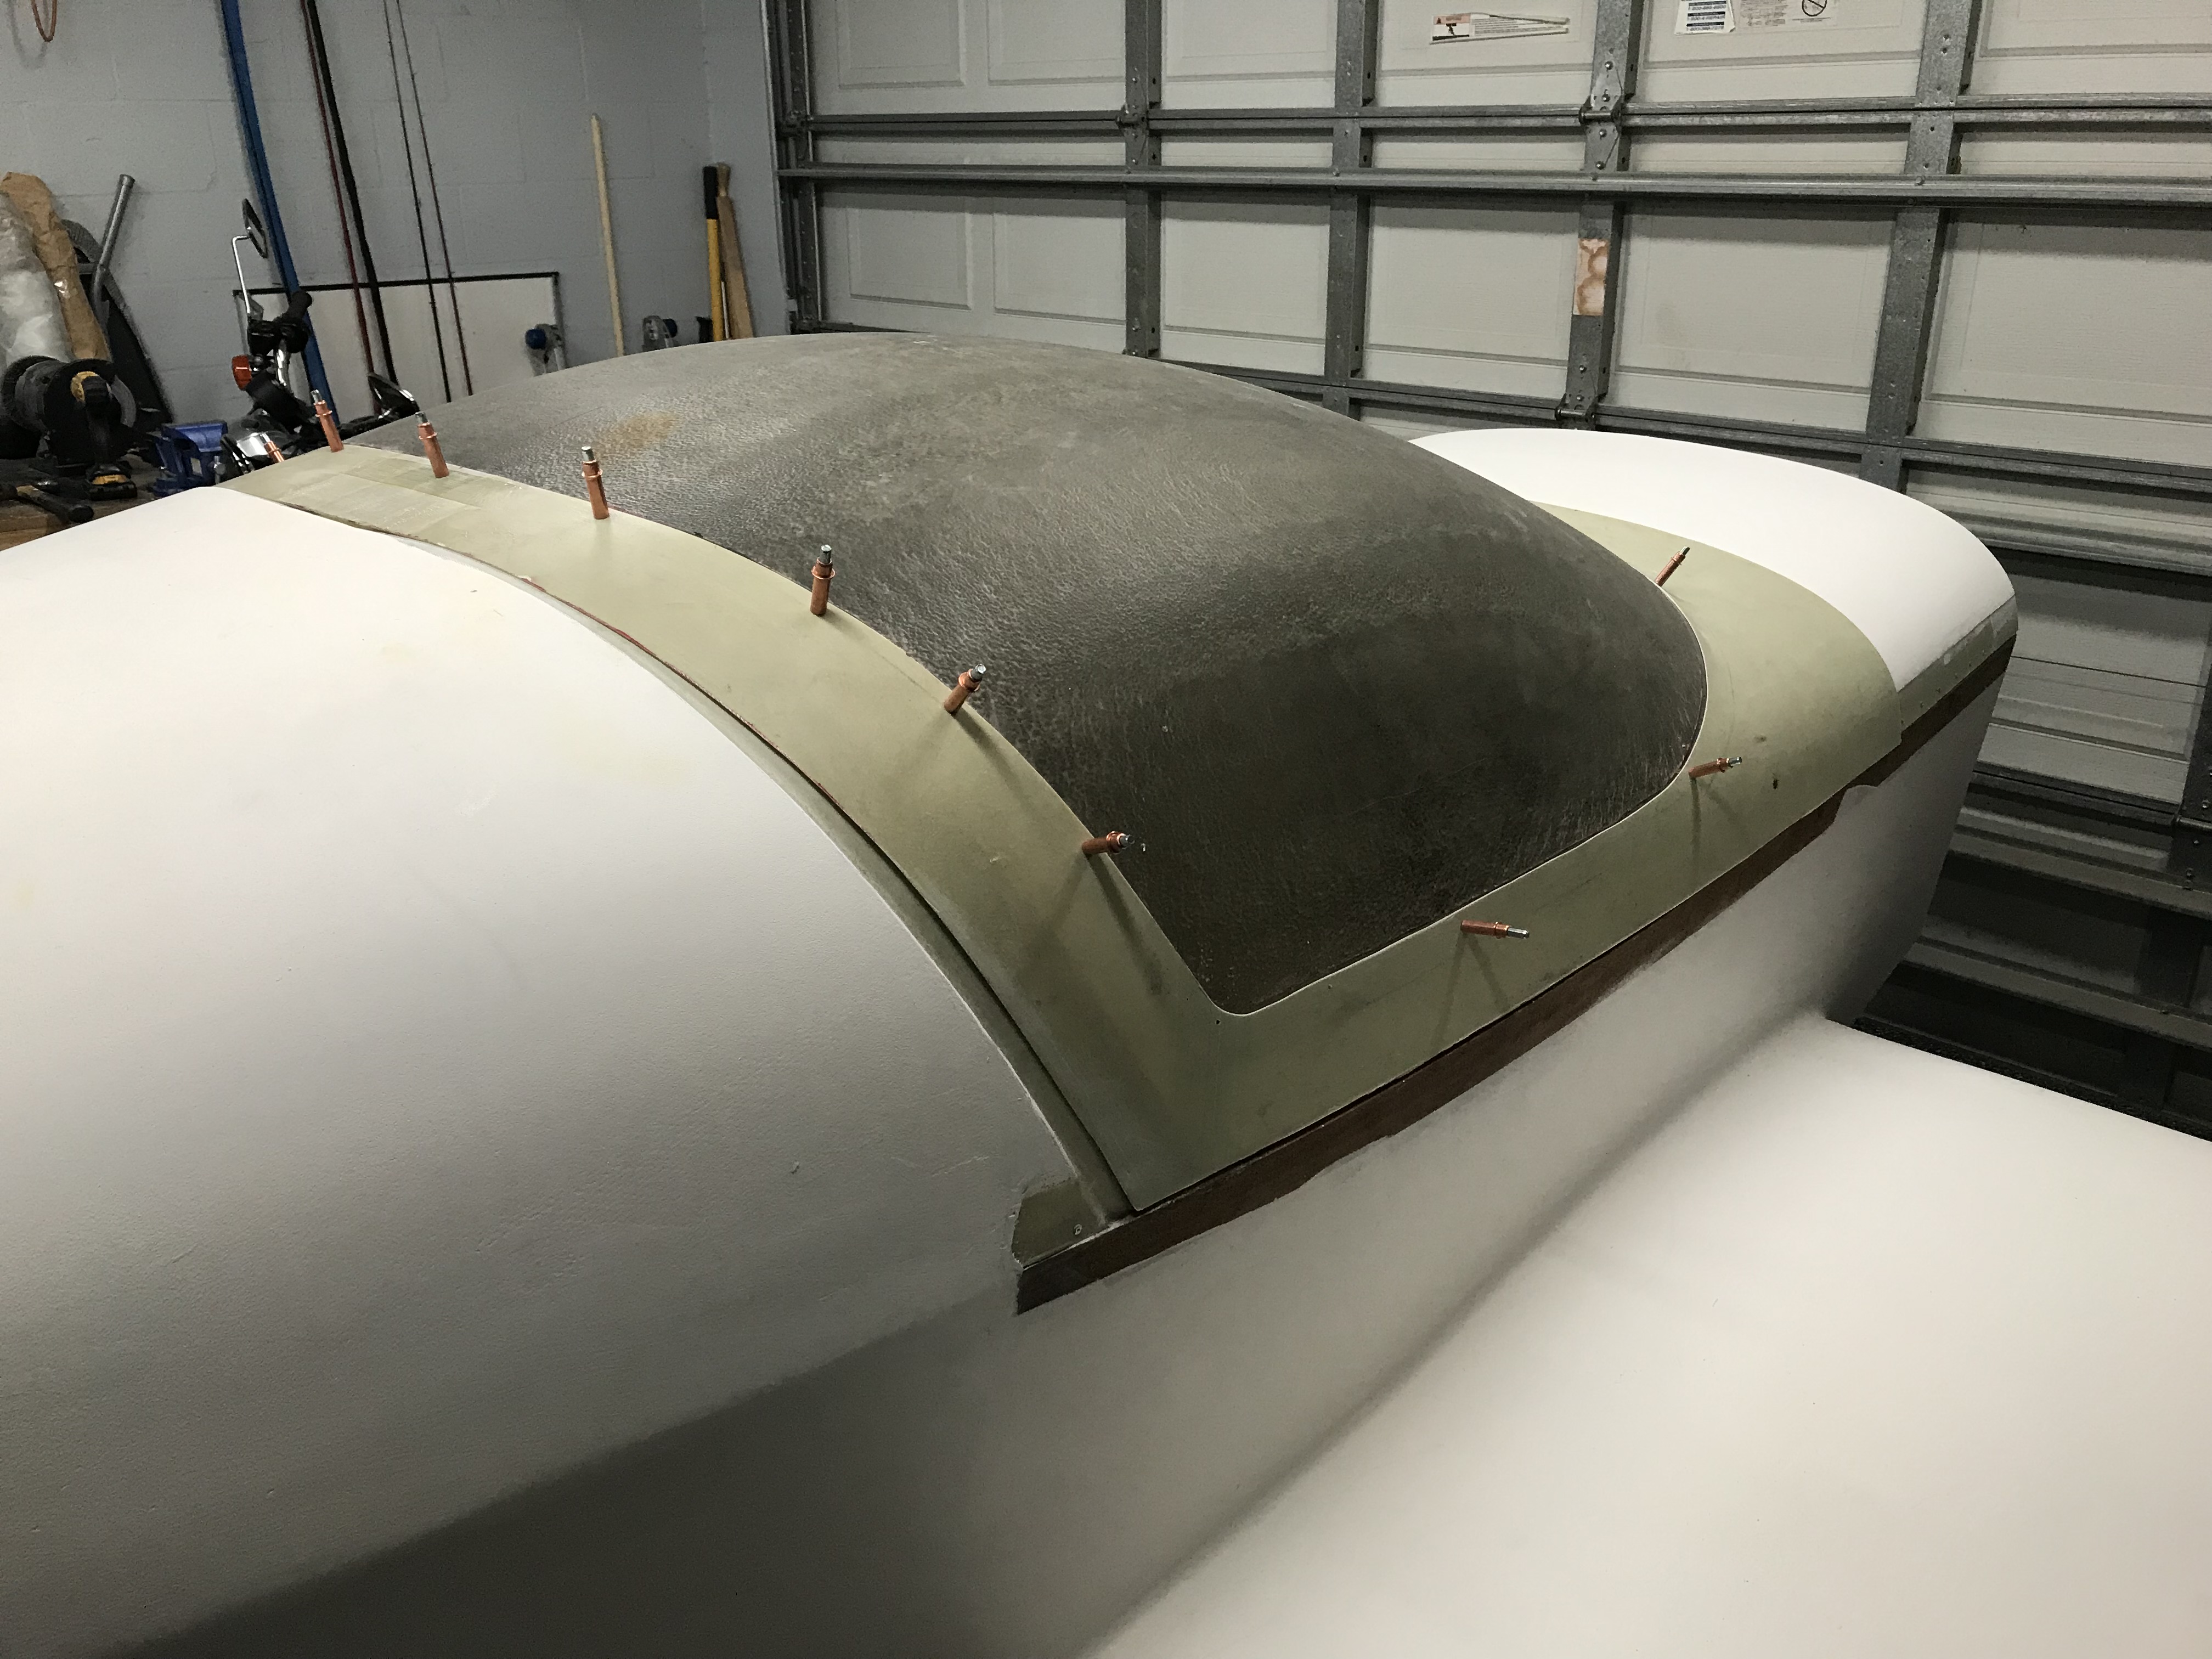
I have installed the cockpit floor and am ready to install the rudder pedals. I have measured for the turtle deck height and canopy positioning. The elevator is almost complete
as it is all glassed and now only needs finishing.


6/30/2018
Over the last week I built up the elevator. It is not complete here but very close to being done. I still have to add counterbalance weights, do some prep work and a lot of sanding
to make it ready for paint.

7/18/2018
I have been working on my controls. I have installed the control stick and the rudder pedals.
The brake master cylinders are in place and ready for hook up. Next will be to complete running all cables
and setting up aileron controls.


7/27/2018
Here are a couple more photos of the controls.


7/31/2018
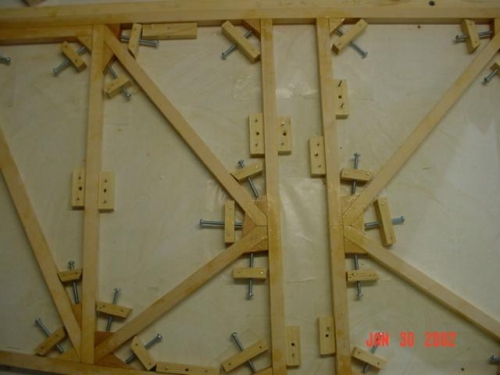
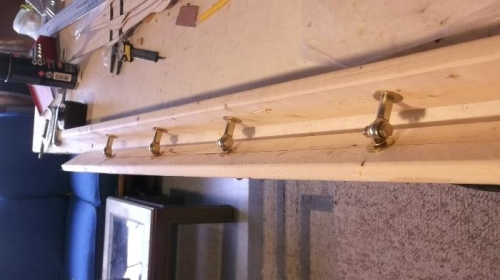
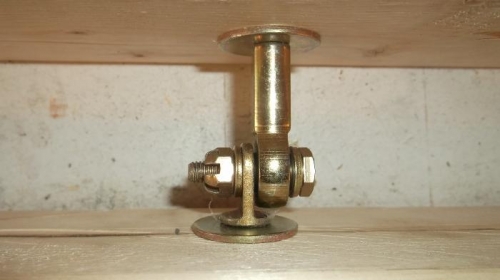
Have you ever wondered how the heck am I going to drill the holes for the WAF's straight? What I did was to use T-88
epoxy to glue the WAF's to one side of the spars in their correct position making sure the bolts actually will go through
the spar caps. Next I drilled a 3/16" hole through an aluminum block to use as a drill guide. You then position the drill guide over
the hole you want to drill and clamp it in place. Using an eight inch long 3/16" bit you can now drill the perfect hole to match the WAF on the
opposite side of the spar. Work your way from the outside toward the inside installing bolts as you go. Be sure to put epoxy on the aft side
WAF before you tighten down the bolts.

8/19/2018
Still moving along on the WunderBird. The key to completing an airplane build is to do something every day
which will keep you motivated. Even if it is just some little task you will be amazed as to how fast it all comes together.
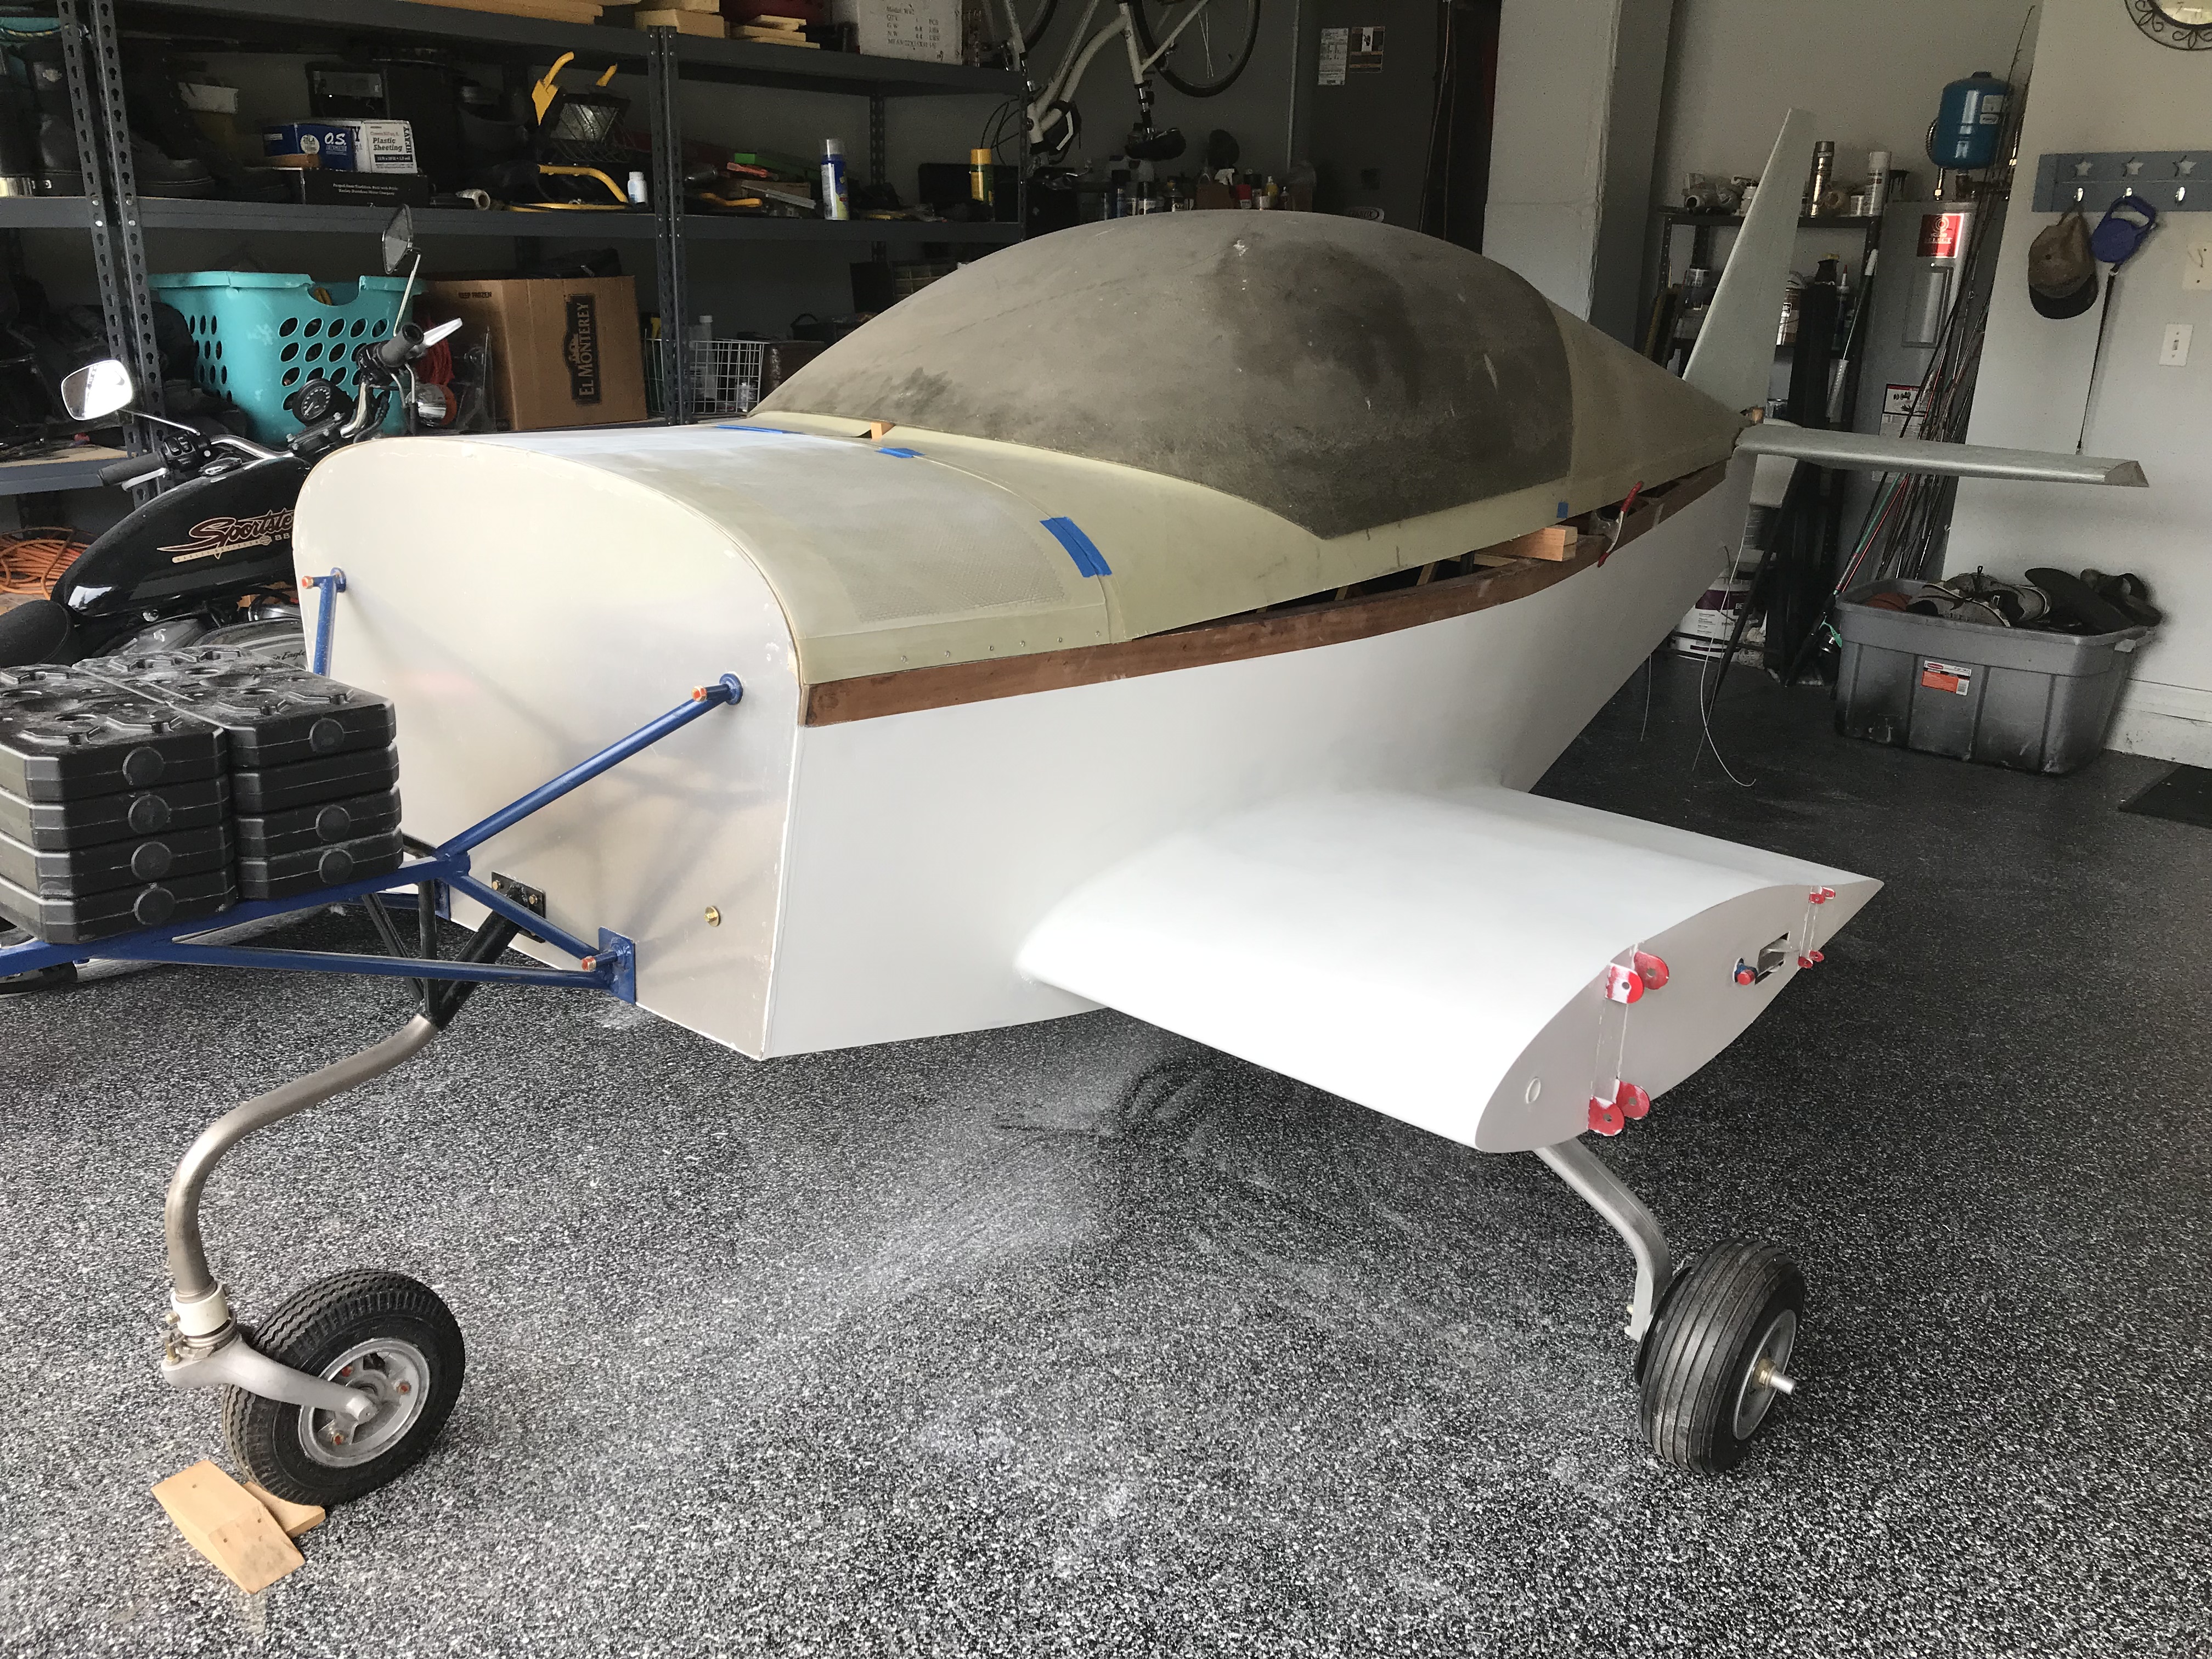
Here you can see some of my control rigging. Also in the first photo I have placed all the prefab top half components on the boat.
They are there right now to really motivate me. It looks more and more like an airplane every day.


8/22/2018
Here I have finished framing up the wing walk area on the left wing stub. I made an additional wing root rib to support the cross members. The cross members are 1/4" x 1 1/2"
poplar. The spacing between each cross member is 2" and the width is 10 inches. I now will skin the area with 3/32" Birch 5 ply plywood. This will also be covered with fiberglass when the
stub wing is finished. This makes for one strong wing walk.

9/4/2018
I have skinned the wing walk with 3/32 5 ply birch plywood. Also notice the aileron control cables are now installed.
For those of you with keen eyes, I still have to install the cable guards on the pulleys. Also if you look closely
you will notice that when I hook up the aileron push rod that there is no offset on the travel as the original
plans call for. On my last KR I had equal travel on the ailerons and was very pleased with the results so I
made this one the same.

9/12/2018
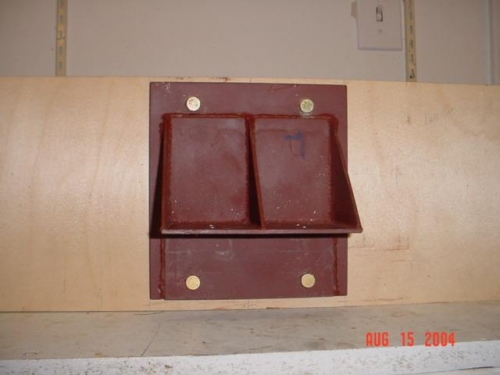
In the following two photos you can see I have been working on setting up the Corvair engine mount on the firewall as well as the Diehl nose gear bracket. This is the actual firewall made of 1/4" birch aircraft plywood.
The mount and bracket will be temporarily bolted to the firewall. I will then take the assembly to a welder to have the nose gear bracket welded to the engine mount. After that
is done I will be ready to T-88 epoxy the firewall to the fuselage. After that the fiberfrax and stainless steel will be applied to the firewall.


9/21/2018
Firewall installed with fiberfrax and stainless steel covering. Engine mount and nose gear temporarily installed


10/24/2018
My motivation the last few weeks died along with the record breaking hot temperatures we have been having here in Florida. Now that the temps are dropping my motivation is returning
and I have begun working on the tail feathers again. Today I cut and glued in place the horizontal stabilizer foam. Has anyone other than me said they hate the foam dust. Don't
let it get in your eyes cause I can tell you first hand that it is no joy. Next step is to foam the stub wings and then shape the top airfoils and flip the fuselage over and do the bottom
foam and airfoils. Thinking back to my first build it seems like I remember that I really dislike sanding foam. Oh well, it has to be done.

11/14/2018
I have been doing a little work on the stub wings. In the following two photos you can see that I have installed 3/4" PVC pipe through the fuselage side to the outer
stub wing rib. This will allow me route any wires and pitot tube tubing from the outer wing. Also, I have installed the fuel line from the fuselage to the outer stub wing
rib which will connect to the aluminum fuel tanks mounted in the outer wings.


11/20/2018
Here I have installed the foam on the stub wings. It was glued in place using Great Stuff expanding foam. Now it is ready to sand to airfoil shape.


11/28/2018
In these two photos of the right stub wing you can see that I have sanded the foam to the airfoil shape and am ready to coat with a slurry of micro glass beads and then
lay the fiberglass.


3/5/2019
This is what I have been doing for the last couple of months. In the following photos you can see the sequence of flipping the plane upside down and doing work on the
bottom stub wings and stabilizer. I have foamed in the bottom of the stub wings, sanded to airfoil shape,
applied polyester putty filler, sanded that filler down to the airfoil shape and am now ready to use
a final feathering filler to finish the surfaces prior to applying paint primer.


8/3/2019
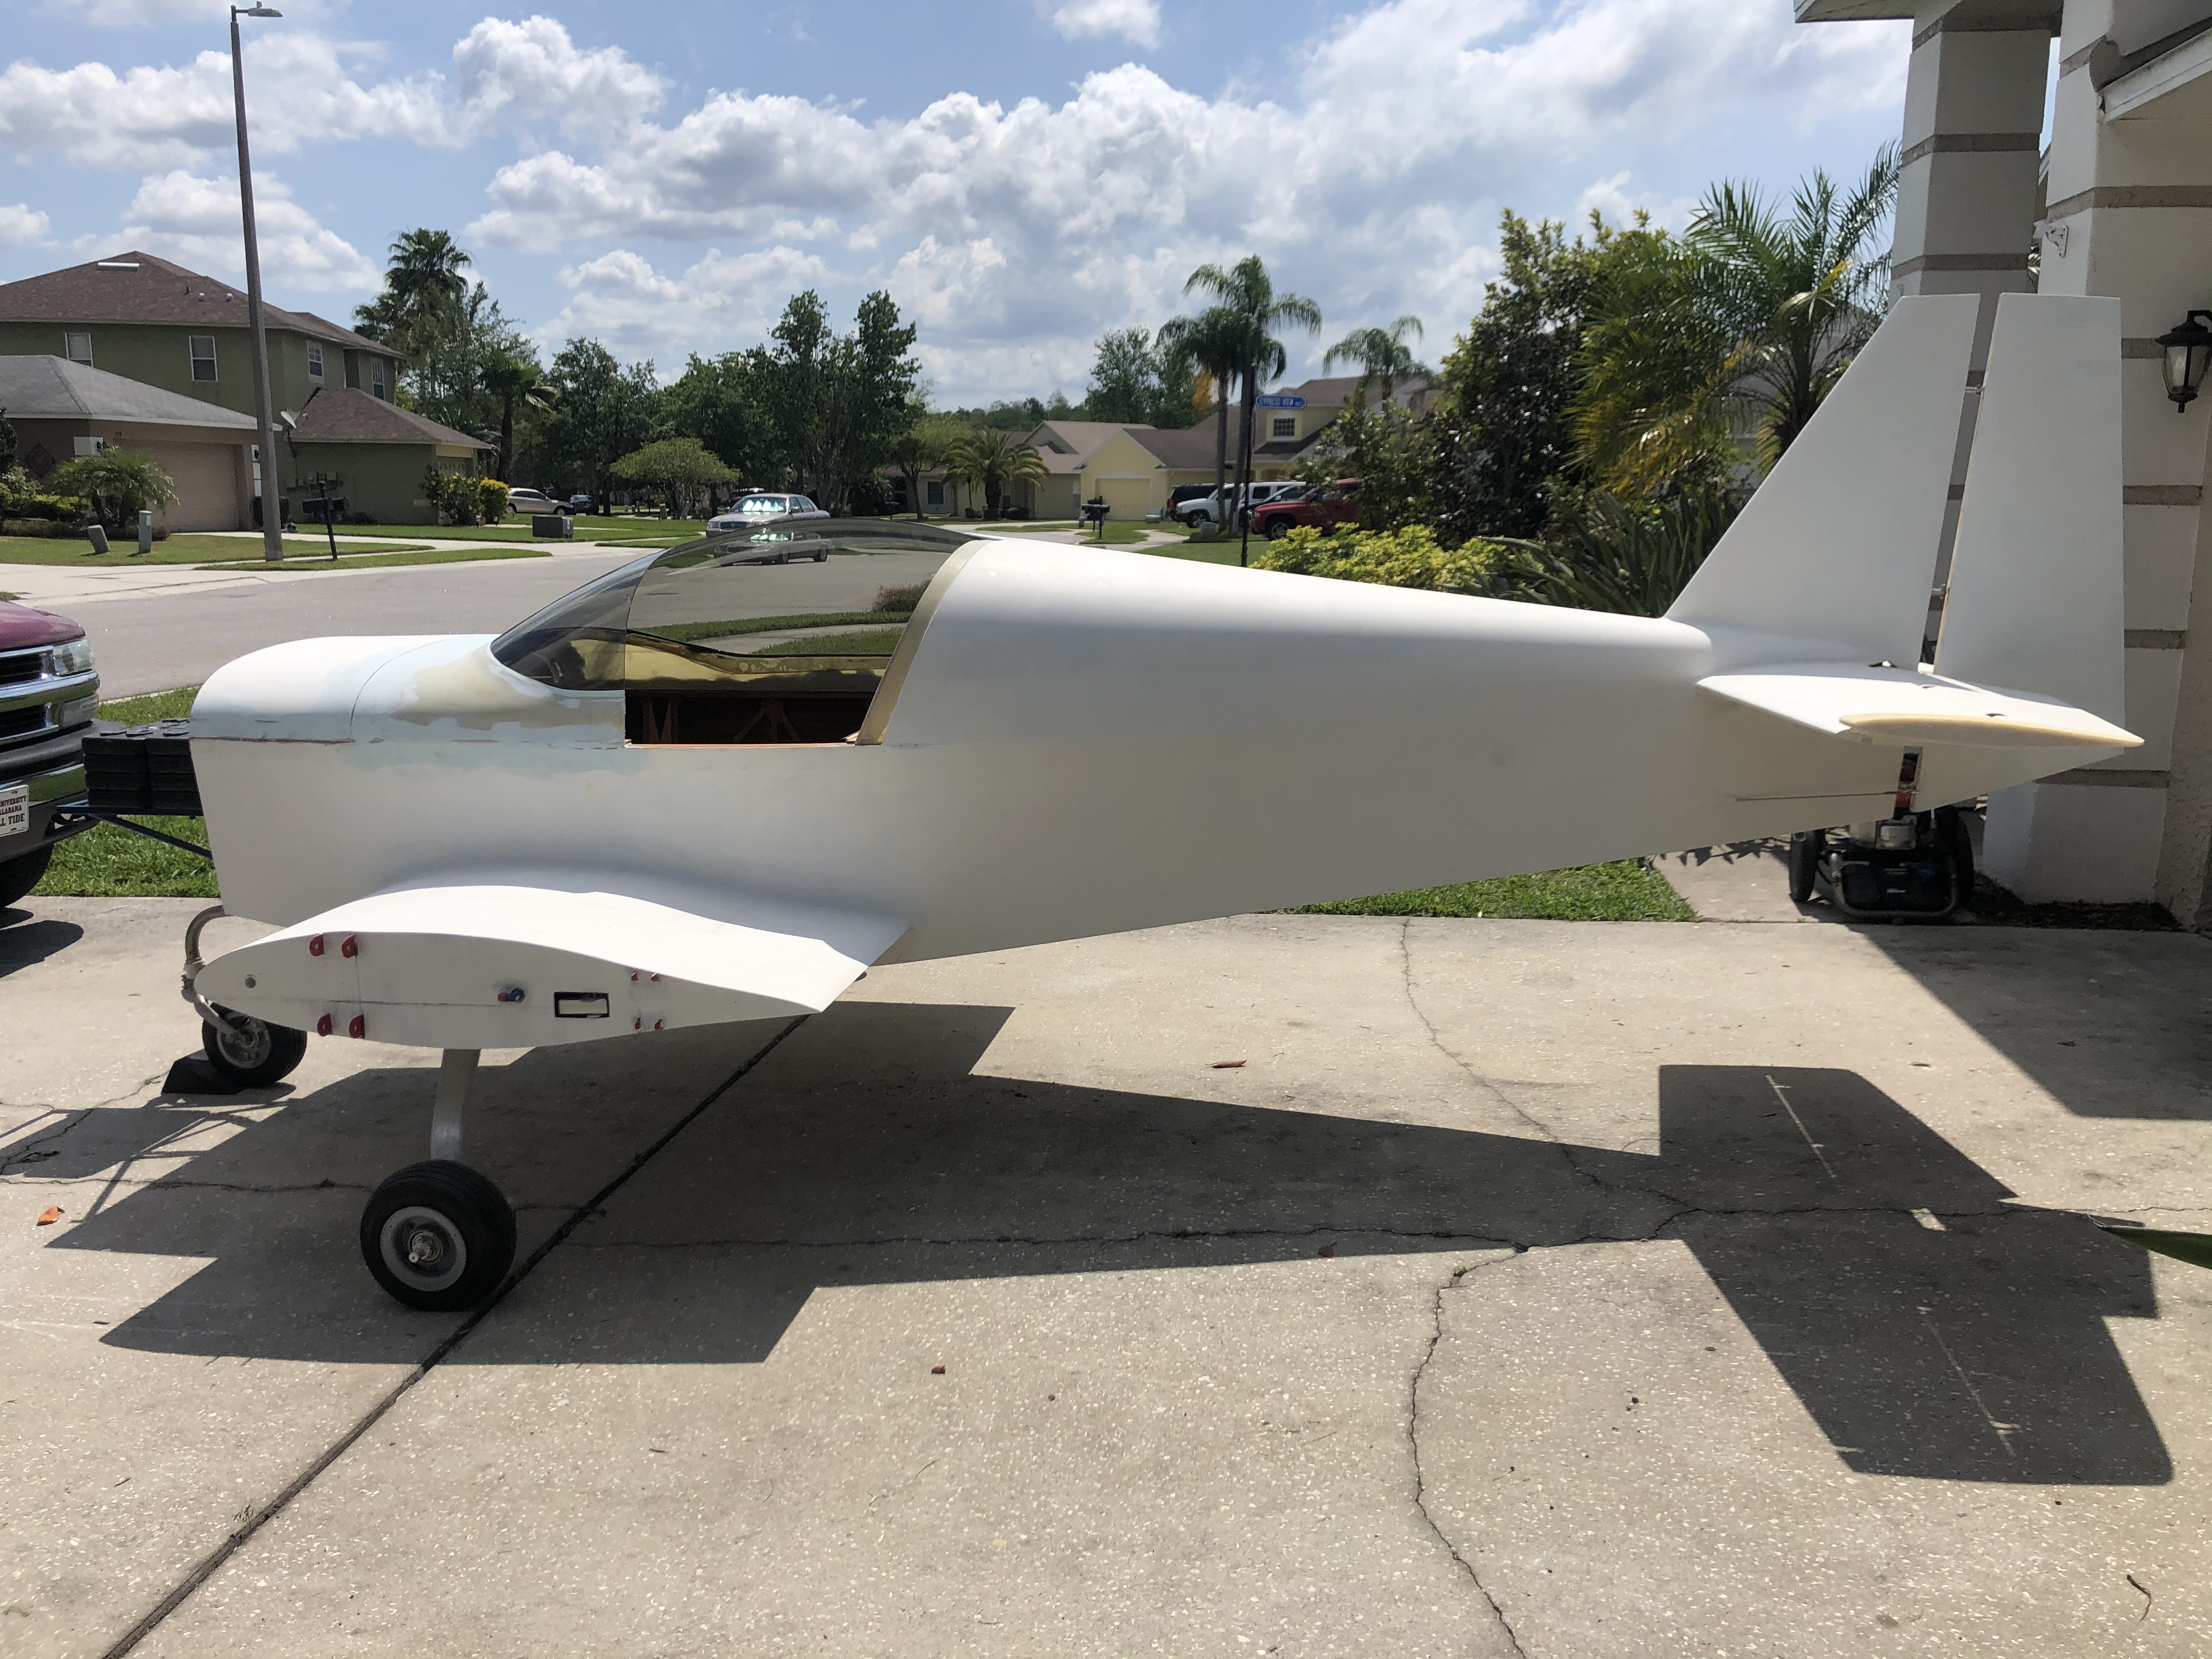
Pictures are worth a thousand words so here are a few to show you where I am as of today.


4/7/2020
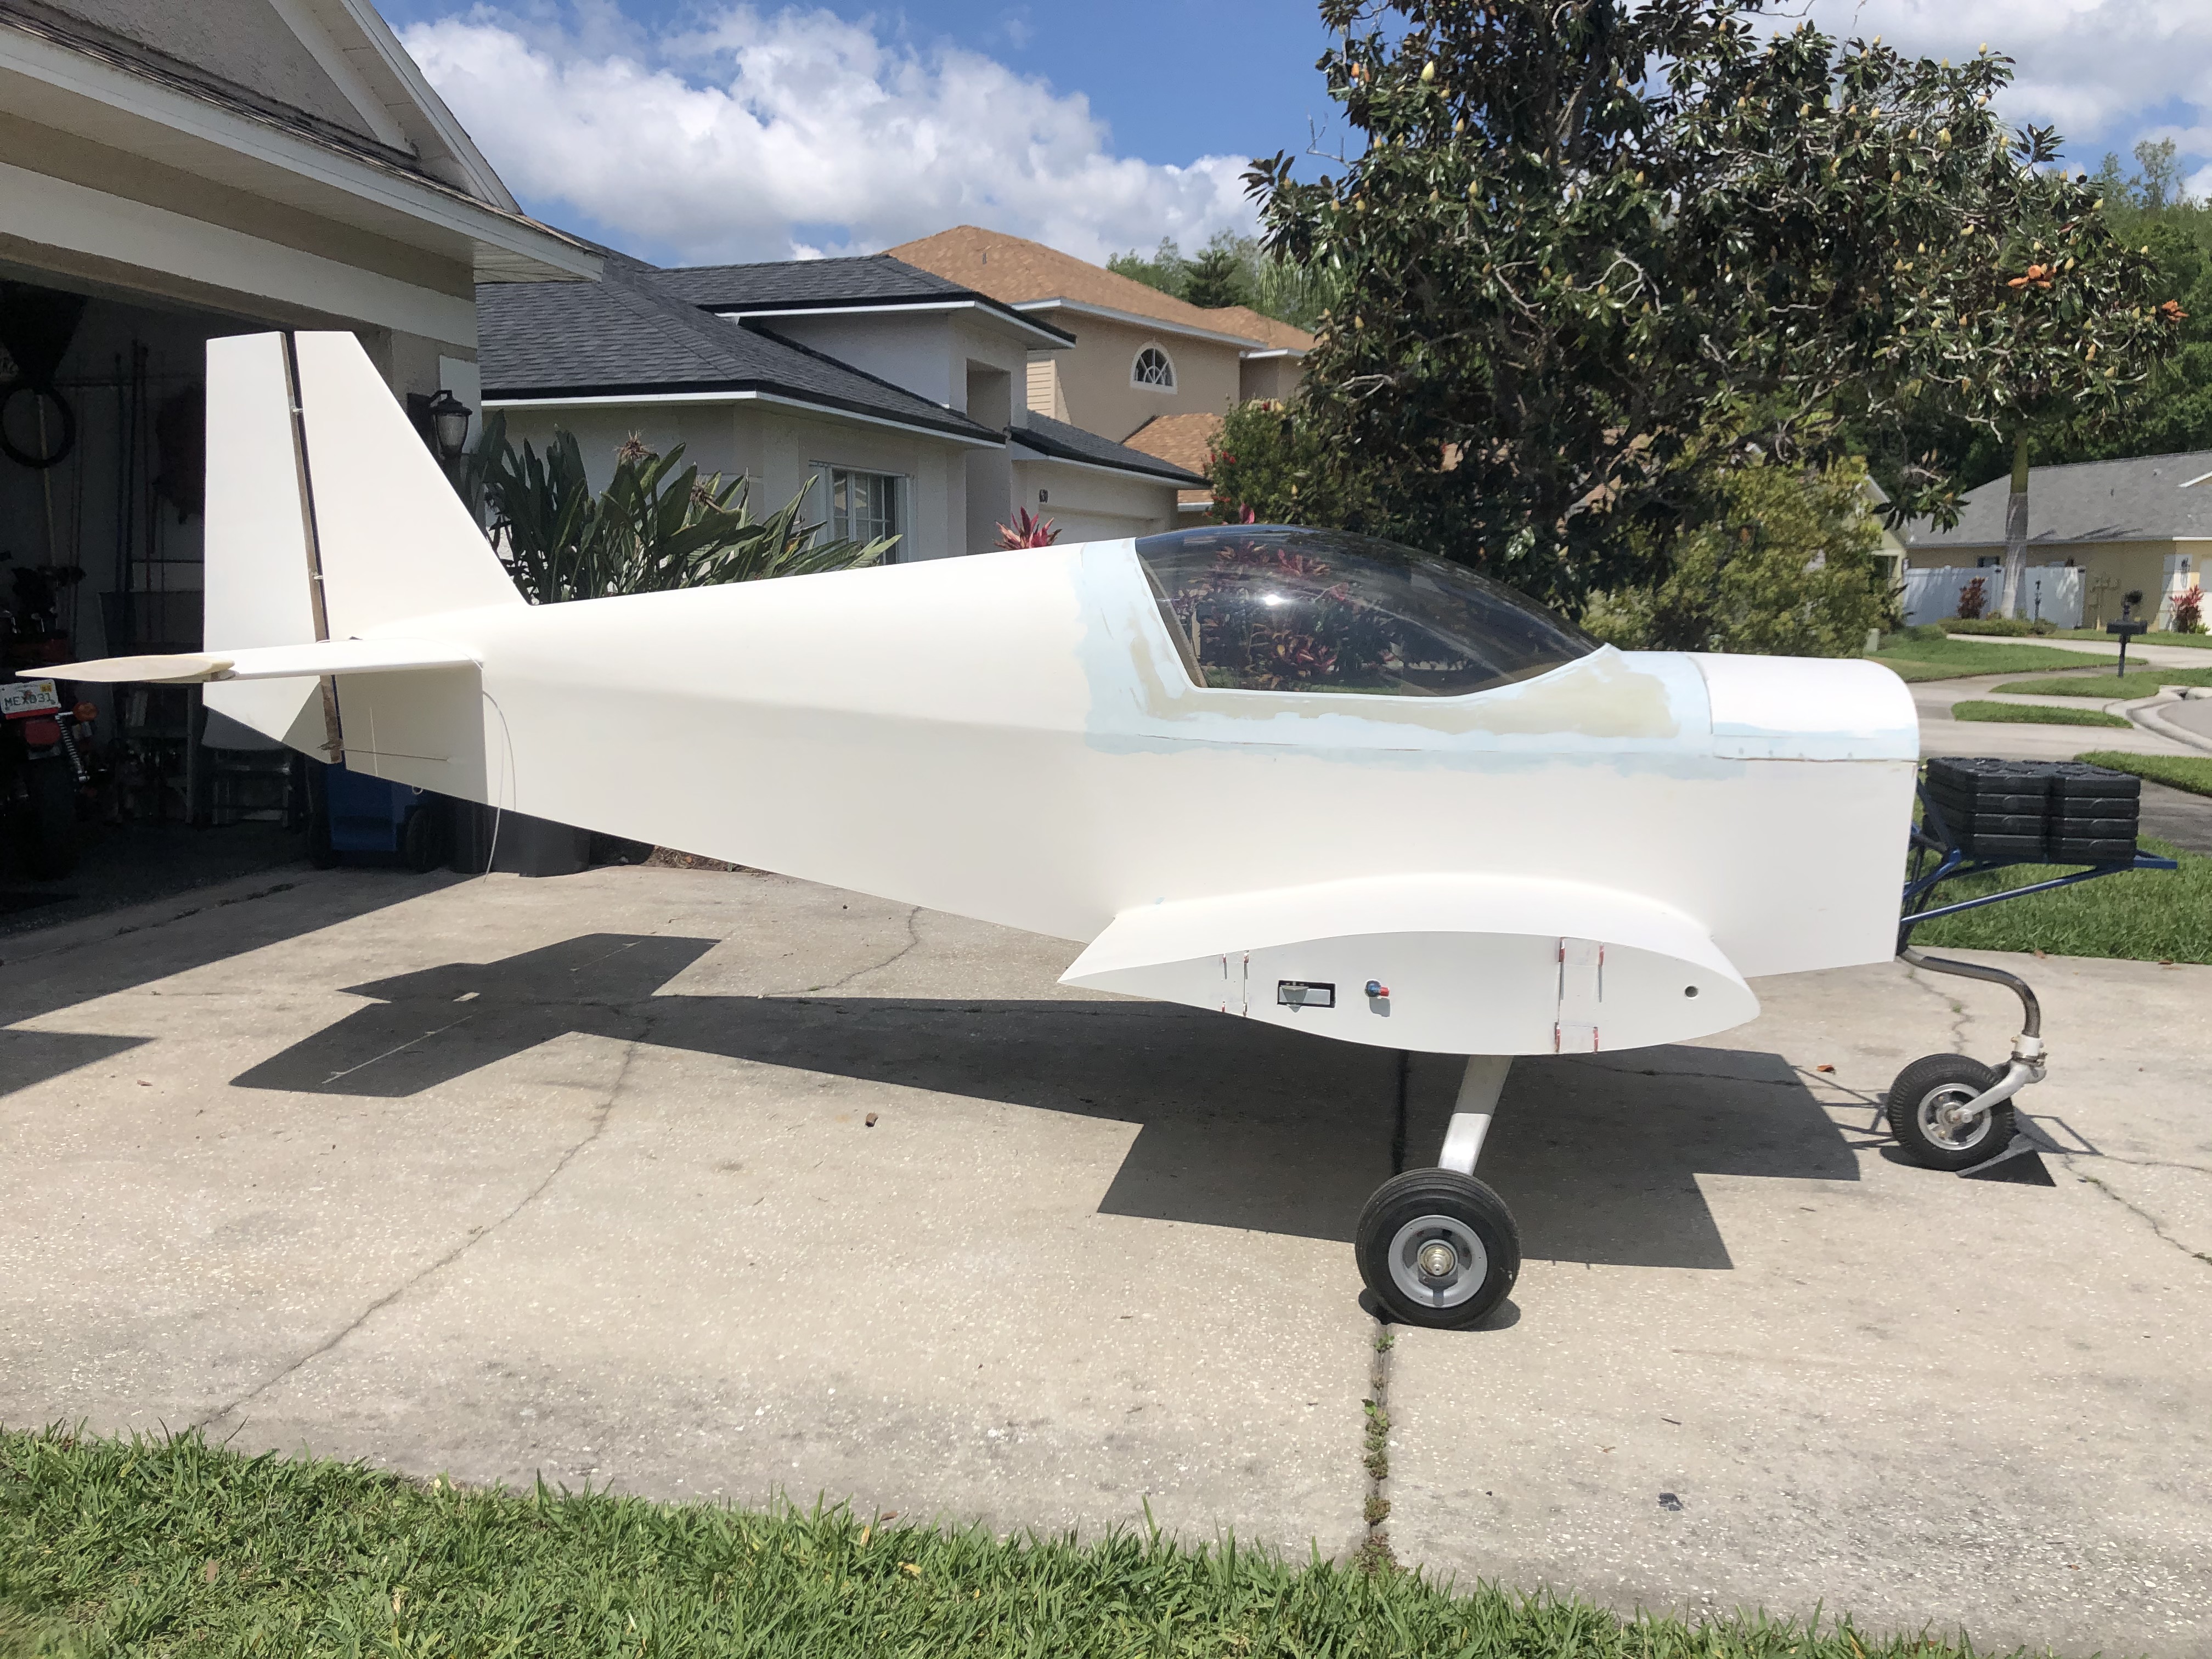
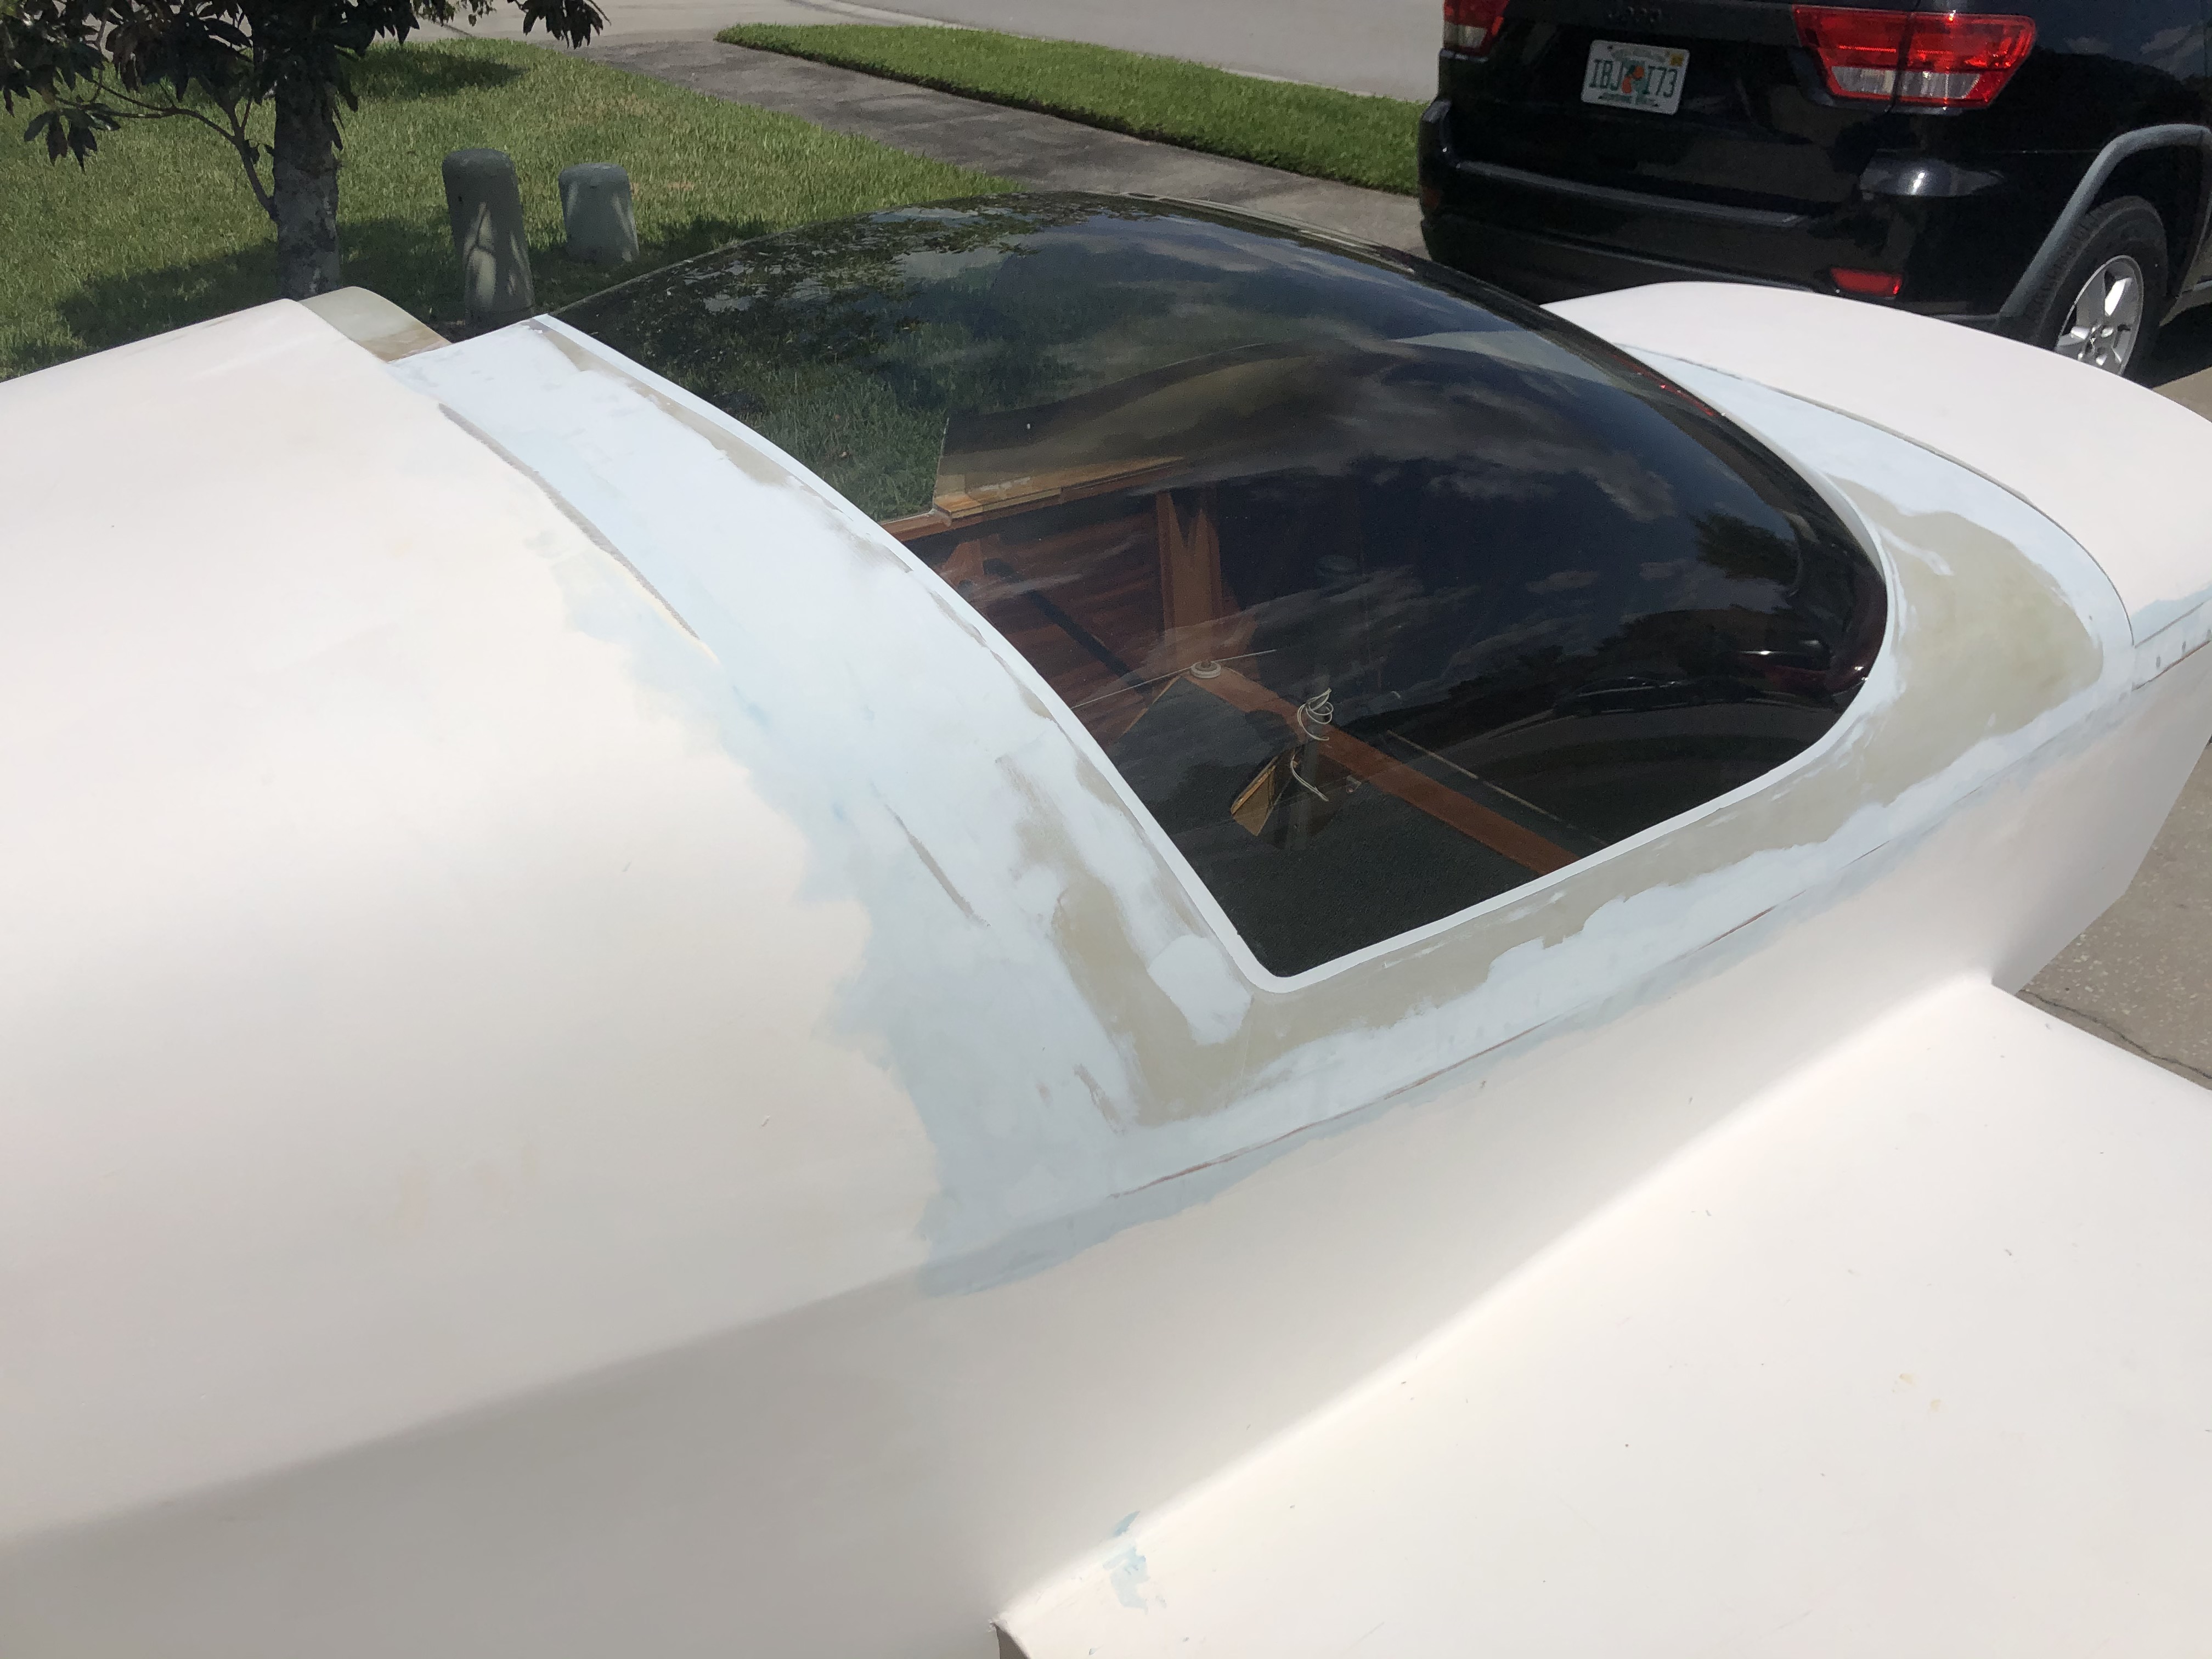
WOW... I can't believe that I have not updated this since last August. Well here are a few photos for you to critique. It is absolutely amazing how much you can get done
putting in a little time every day. And with these stay at home orders I am really getting a lot done cause I am staying in the garage working on Wunderbird but of course I have to
get the house chores done first. Retirement...love it!!! Anyway, my engine is on the bench at 90%, the instrument panel is drawn on CAD and ready to go to a CNC shop as soon as
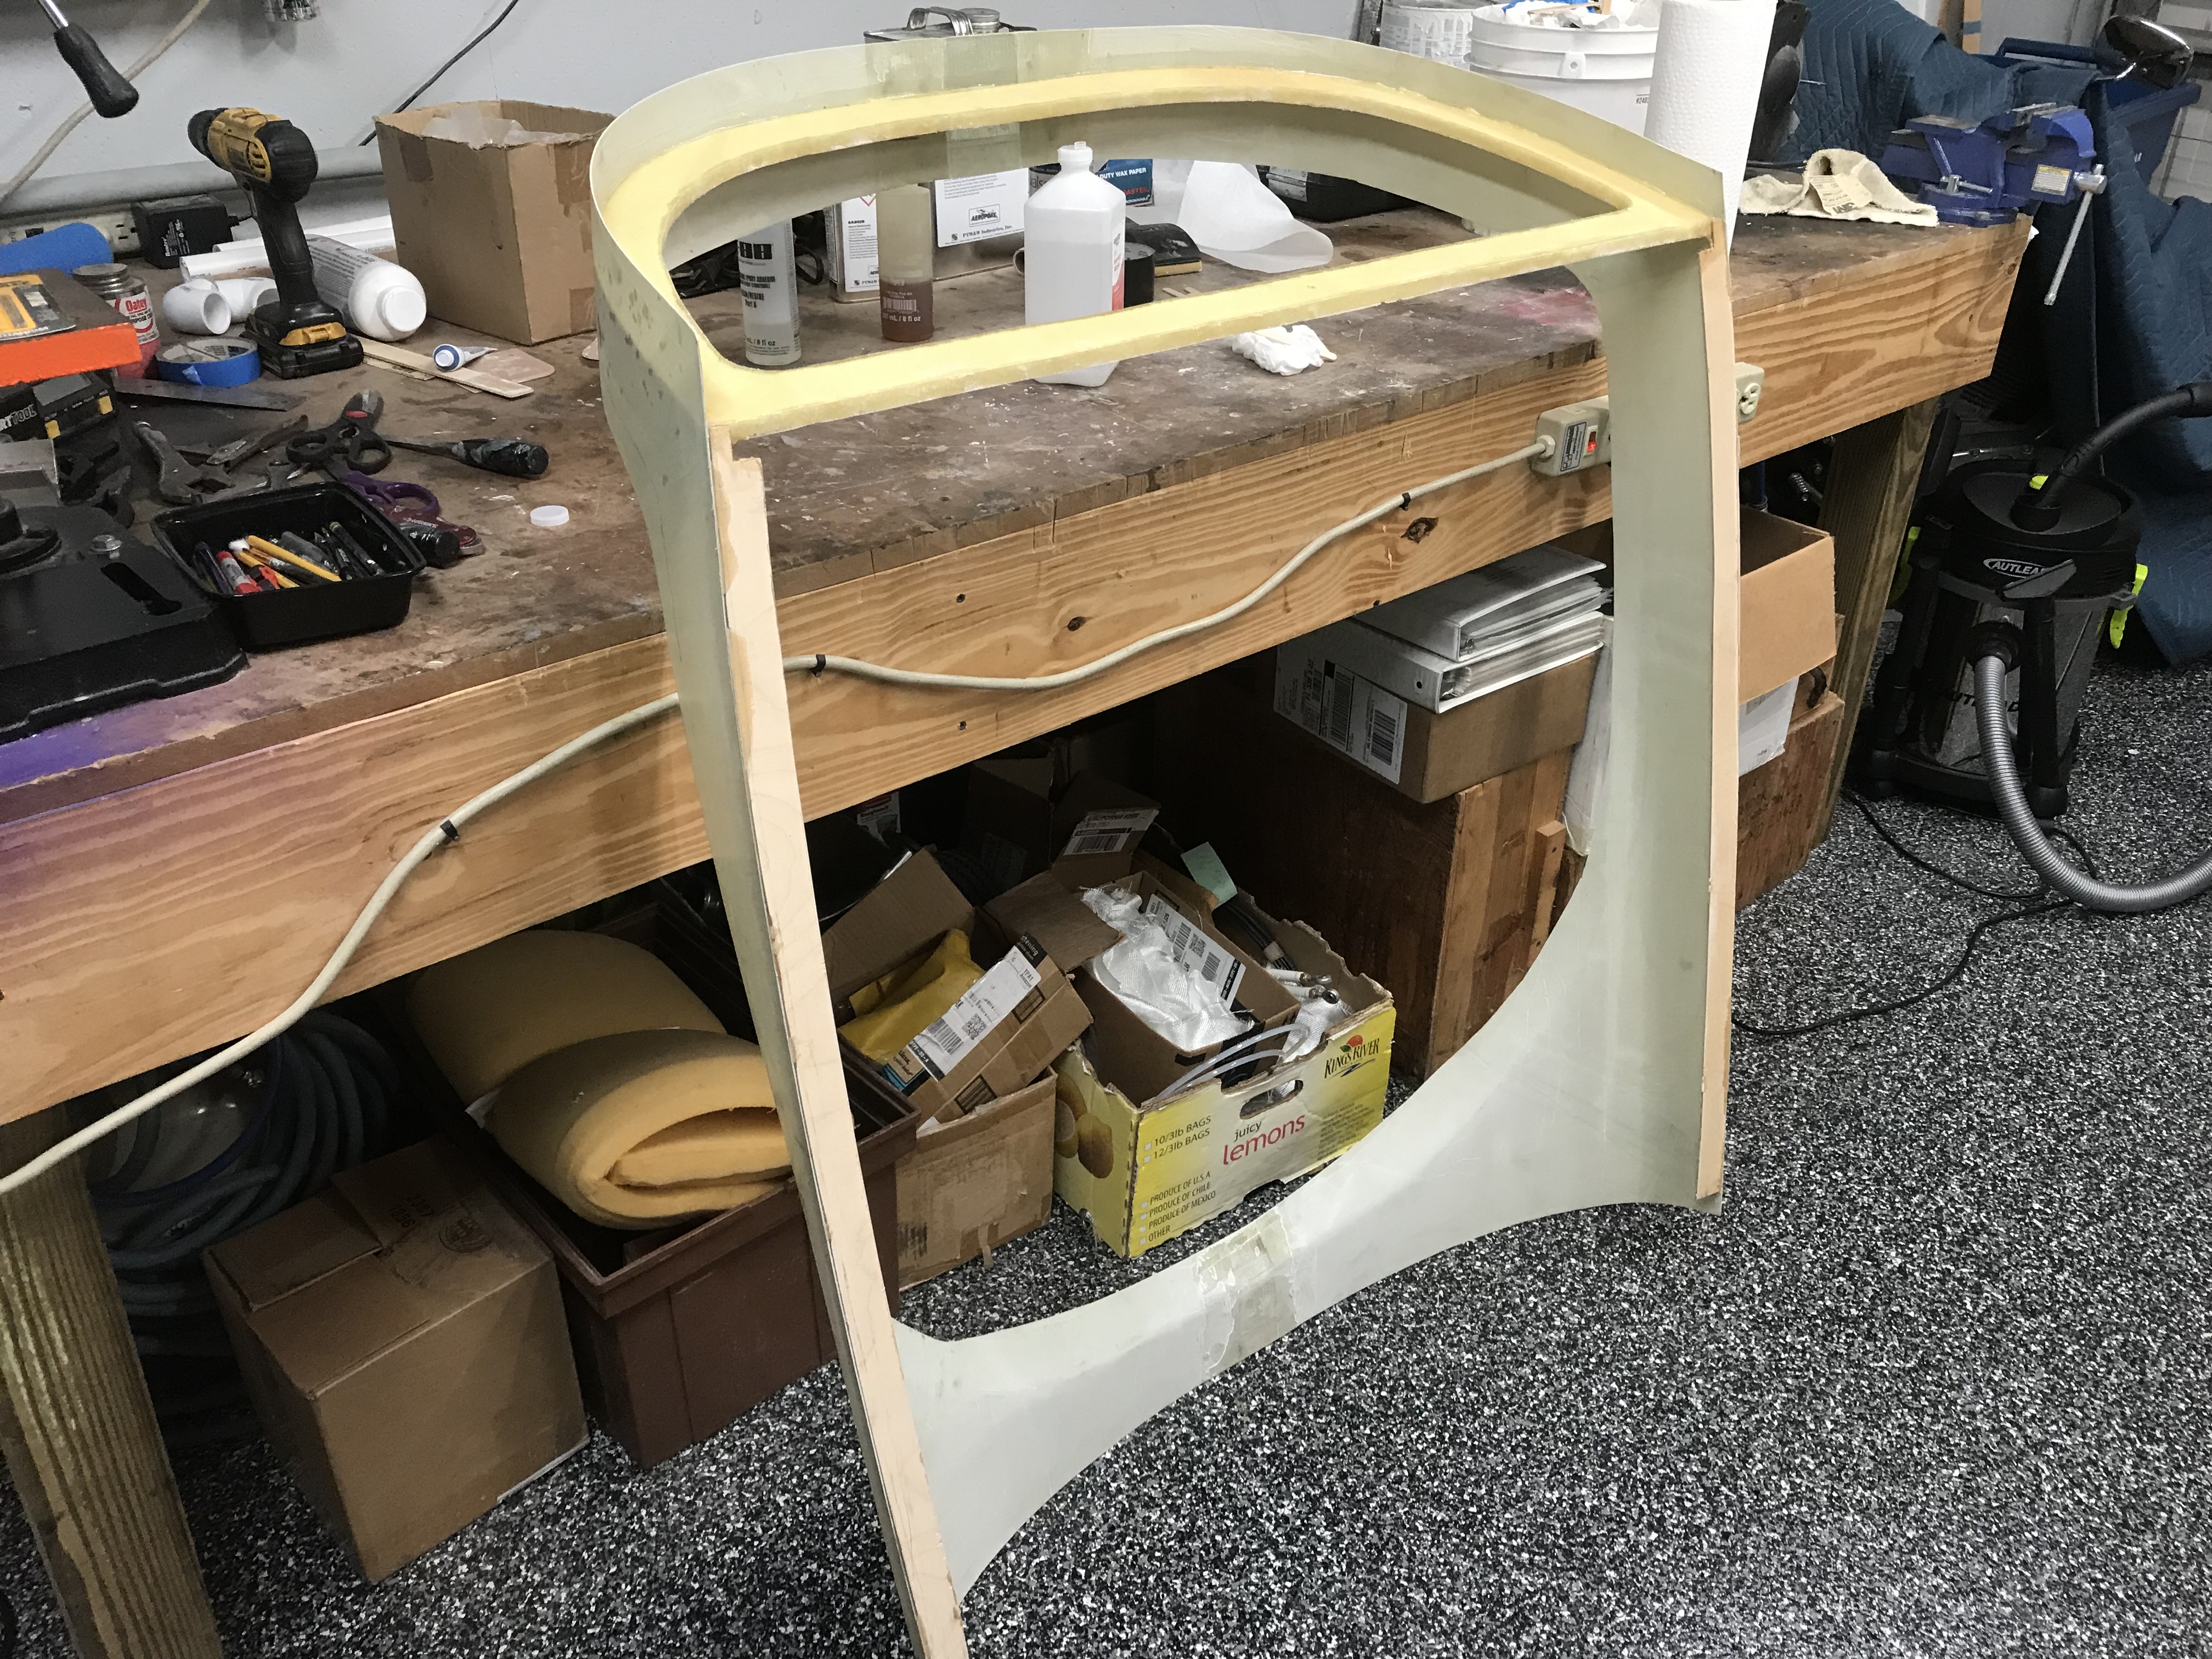
restrictions are lifted. Almost ready for final coat of primer. Speed brake still needs to be installed. Door frame and door also have not been installed yet.
|